I organized one size of the scraproom today. I got some new additions, a spice rack to use for embellishments and a foot stool that I put all of my overflow 12x12 paper in (which is a lot). I also moved my cuttlebug and folders and got a box for them. I now have a pegboard my grandpa made me and I put my Gypsy on a stand. I still need to work on the other side, but it and the closet are pretty organized right now. (Only took pics of the new stuff.)
I got a little stand to put my Gypsy on beside my Cricut.

I put my new spice rack on my shelf above the stamps and reoraganized some of the other embellishments that I use alot in the basket beside it.

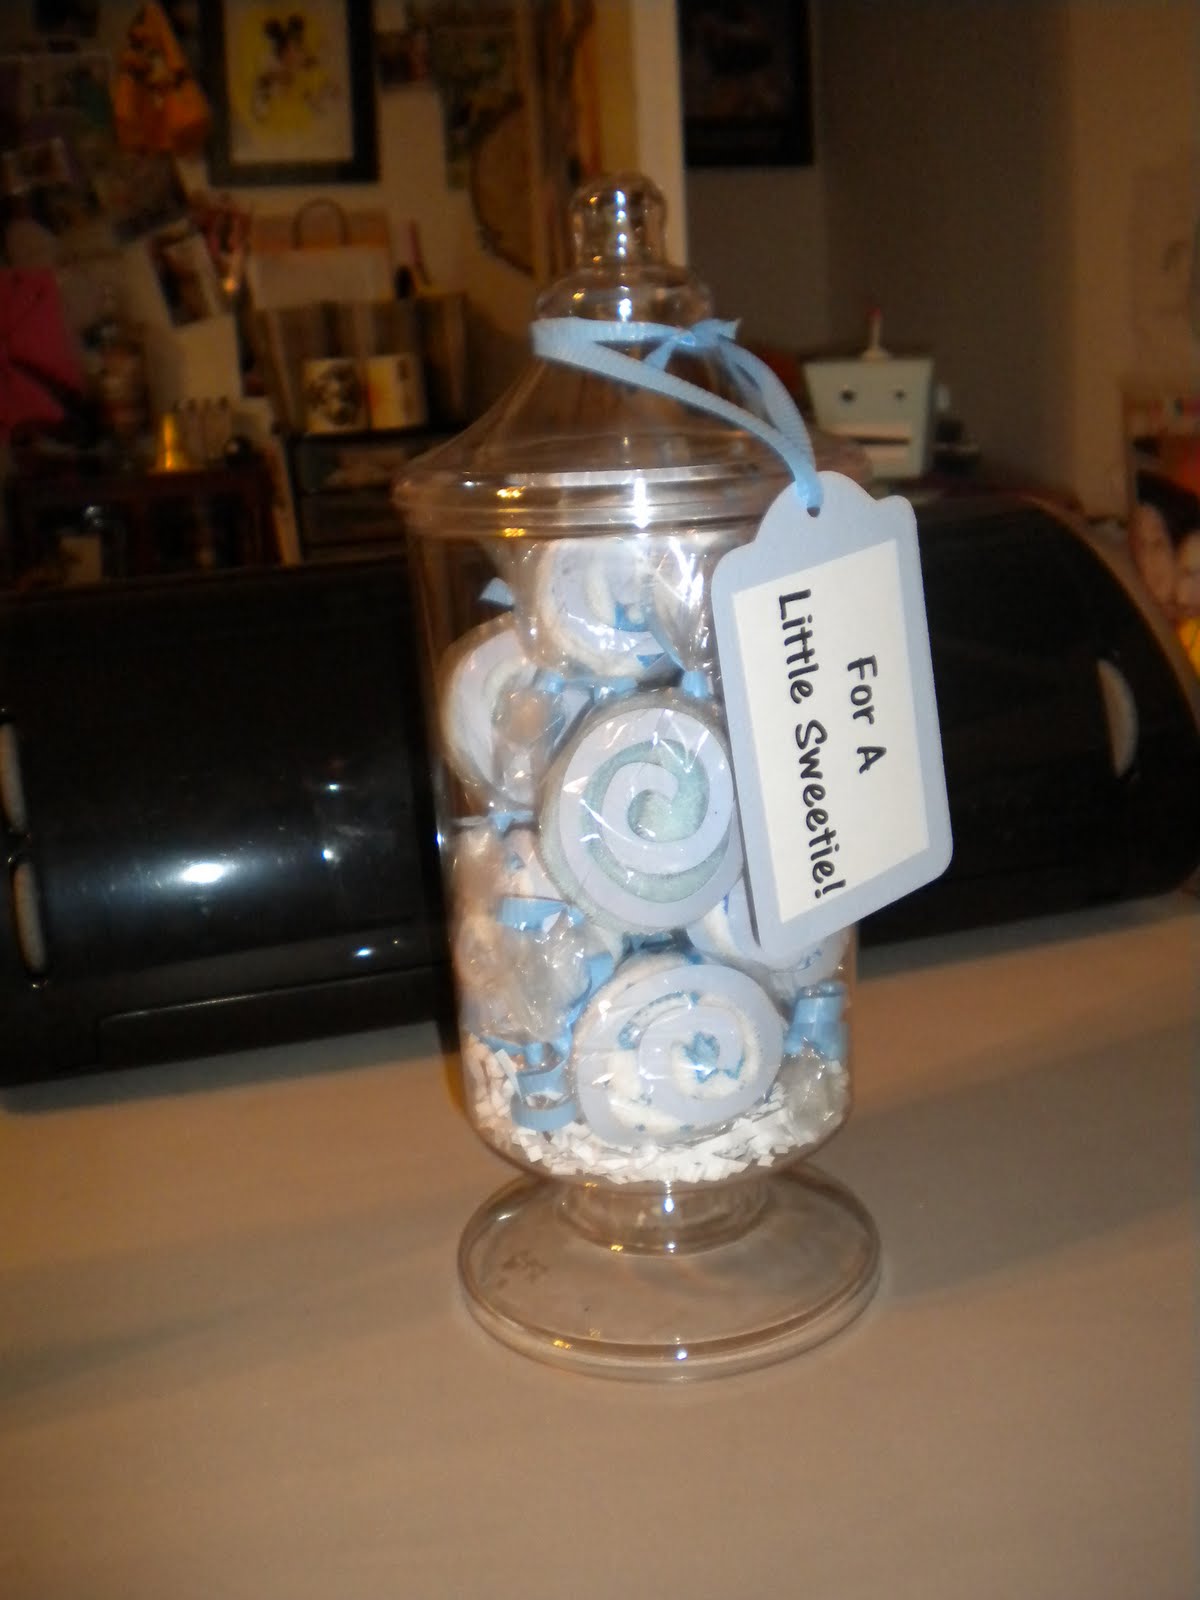
Here is a side view where you can see what is in the jars. I painted over the words for the spices, but I need to make some labels for the front.

This is my new area for my cuttlebug and folders. The folders and cuts are in the brown box and the plates and cutting board are in the owl basket. (I like owls, there is another one on the page that says Jean above it, but you can't see it in the pic.)

I have run out of space for cricut carts. They are in this all the way to the back of both shelves and the solution carts are in the purple container hanging on the inside.

This is the foot stool with storage space I found today. I got this at Ross for $19.99 and thought it would work perfect. I did have paper in old scrapbook boxes all around the room. I have a main stand up folders for solids, papers I use a lot and paper stacks and then 8x8 and 8 1/2 by 11 on a shelf under the desk, but the other extra paper was getting ridiculous. (My husband said he thinks I just like to collect scrapbook paper)

This is the inside. What you see on top is actually a box lid with the layout that I am working on right now. The paper stacked up a lot higher than I was thinking it would.

My grandpa made me a peg board, because I have stickers everywhere in the closet in containers and I was complaining that I will buy some and then can't find what I am looking for when I am ready for it. I went through all of my stickers and stuff today and pulled out the ones I will mainly used and put on here. I am going to get some more pegs for the back of it. (I didn't really have anywhere to put it in here, so I put it over by my husband's closet and his Halo stuff.)


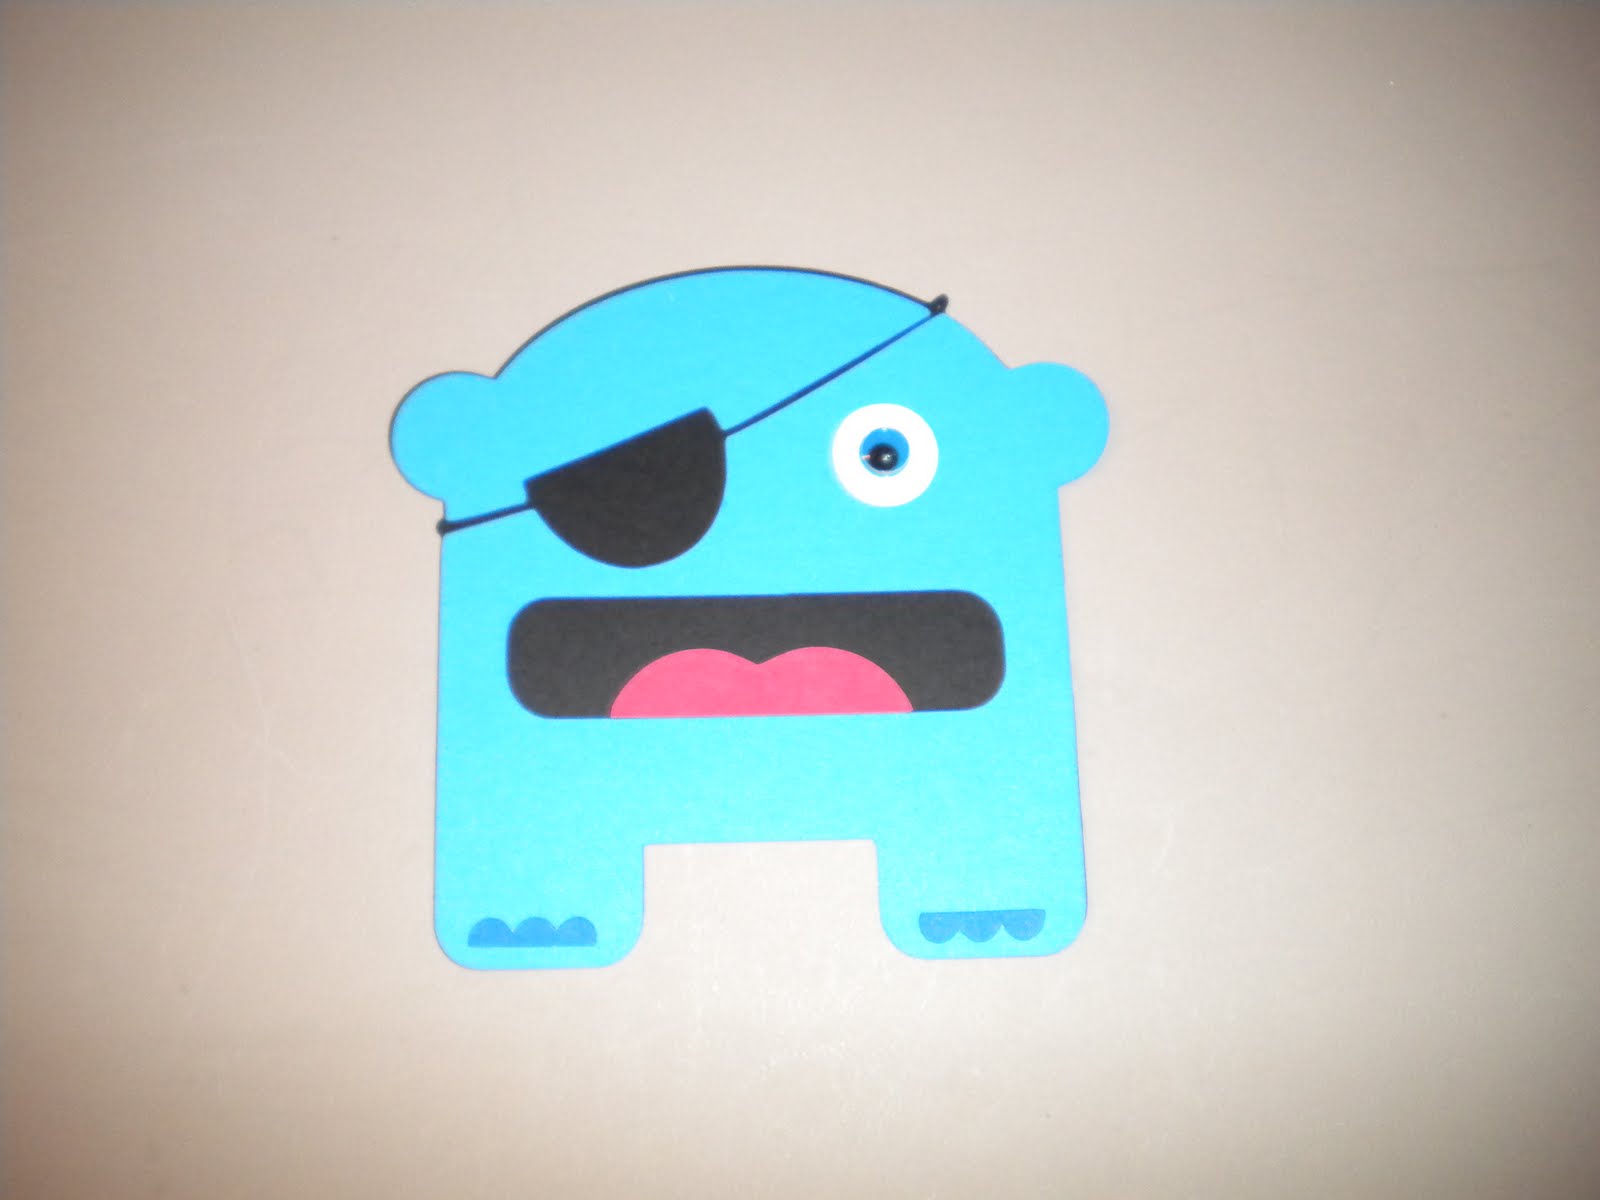
 I found this giant hippo that goes in your flower bed area for my mom for her birthday. She likes lawn ornaments to put around their deck and stuff, so I thought I would make a hippo card to match it. I am planning on making her a hippo theme cake to match as well. I used the Create a Critter cart for the card and the words on the inside.