Tuesday, August 31, 2010

Happy Mailbox Today!!

I have been out of the house all day today and not had any time to work on crafts, but I did come home to find some surprises, so I wanted to take a minute to share with you guys and thank the ladies I received it from.

First off, I received the paper pack that I had won from Audrey over at Cute and Some Blog Spot and a cute little pack of blingy stickers as well. These are even cuter in person and I can't wait to use them for some Fall pages. Thanks Audrey!!

Then I received my box from my secret pal ScrappinGwen on the cricut messageboard. This was a 6 week swap where you made an item and purchased a small item that you could find for around $5 for each letter for 6 weeks. These are pics of what I received for each letter. Thanks Gweynne!!

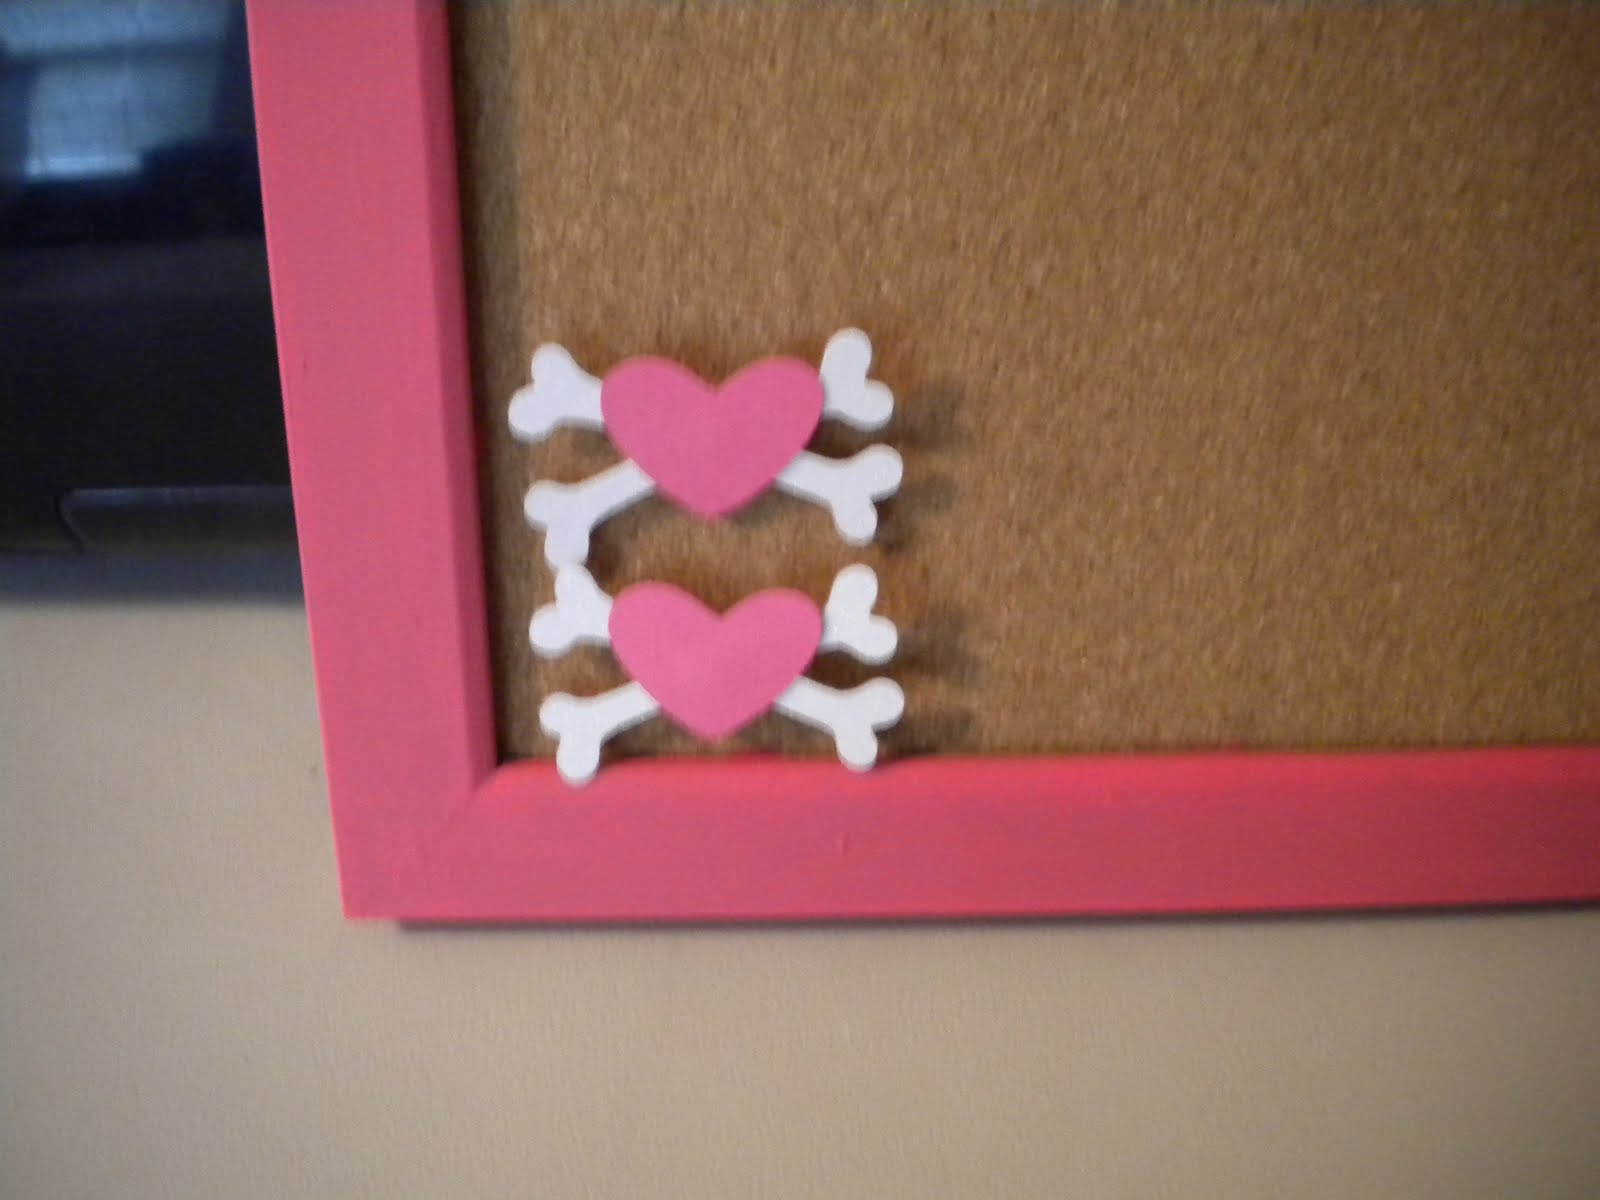
First week's letter B - she sent box of embossed sheets, (bugs) lady bug sheets, Black and red picture frame stand, and some brilliance brand ink.
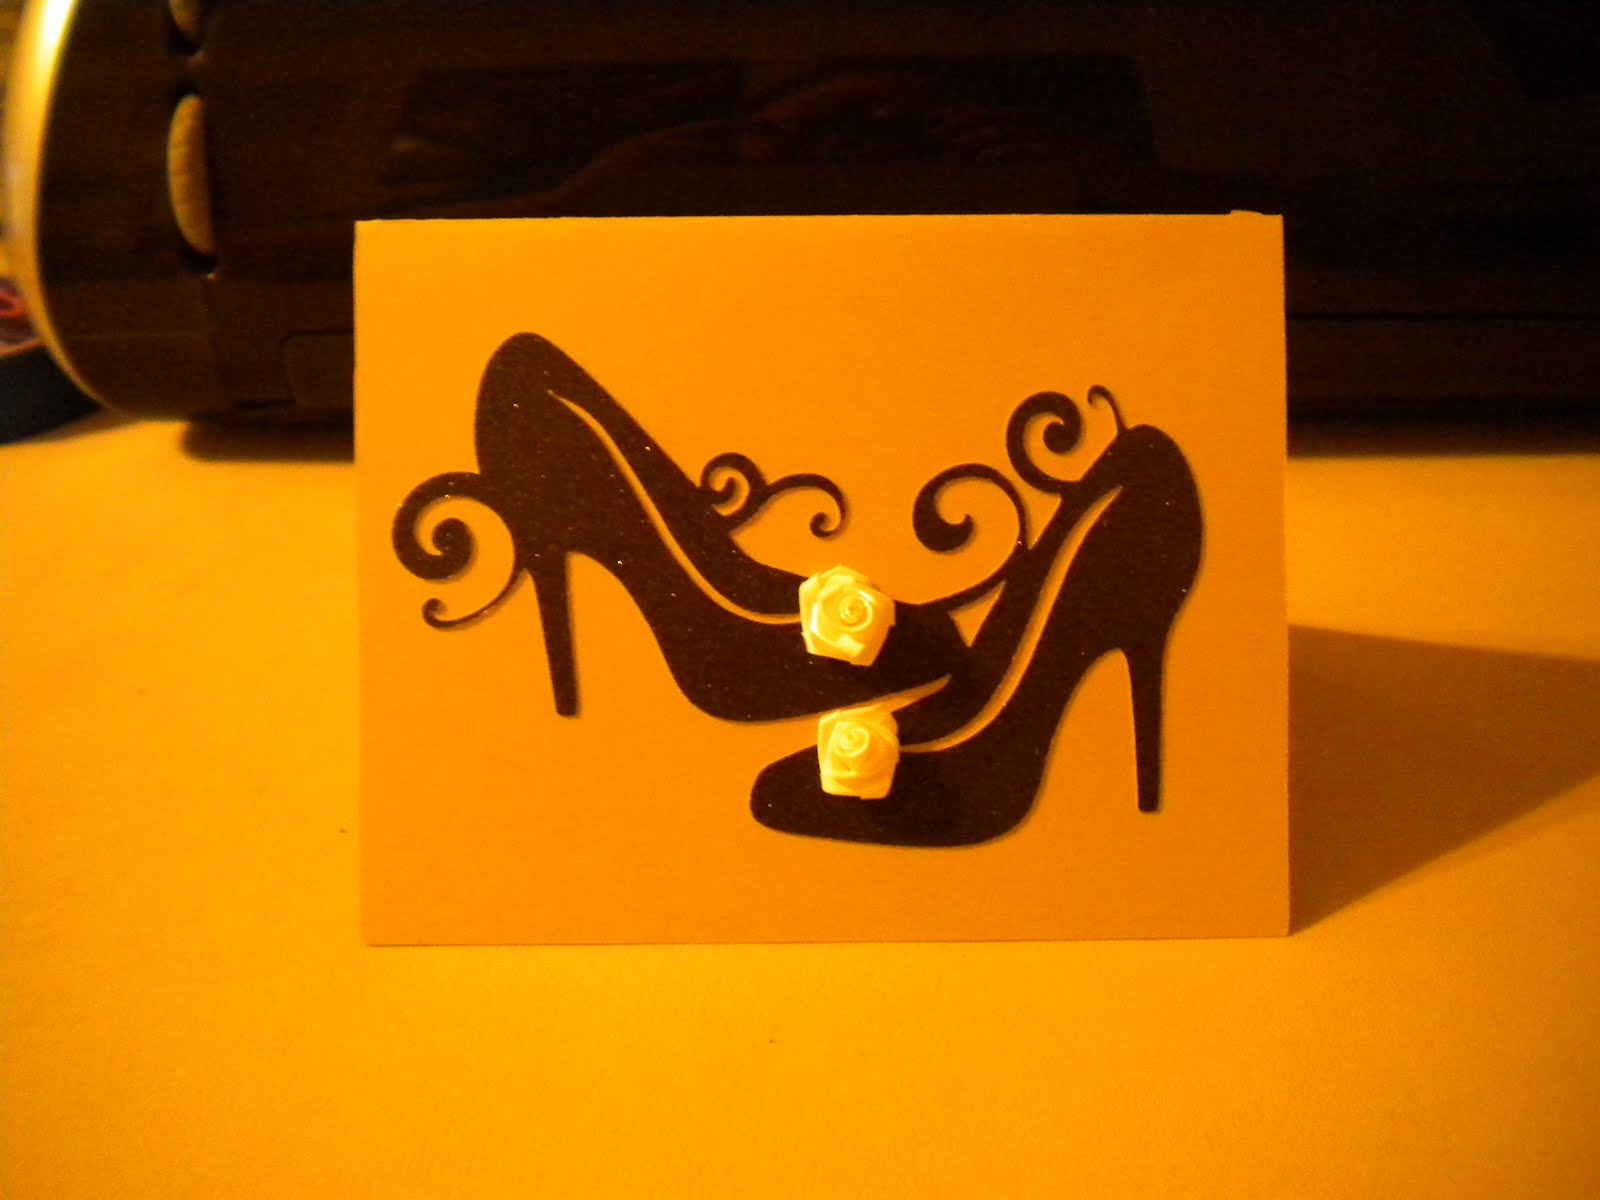
For the letter P - she sent this little purse with cards inside and some pens.
For the letter A she sent some adage tickets, army stickers and stamps and an altered container with an owl on it filled with wintogreen lifesavers.
For the letter M she sent a memories box and some muse tokens.
For the letter C she sent swiss Cheese punch and a coaster.
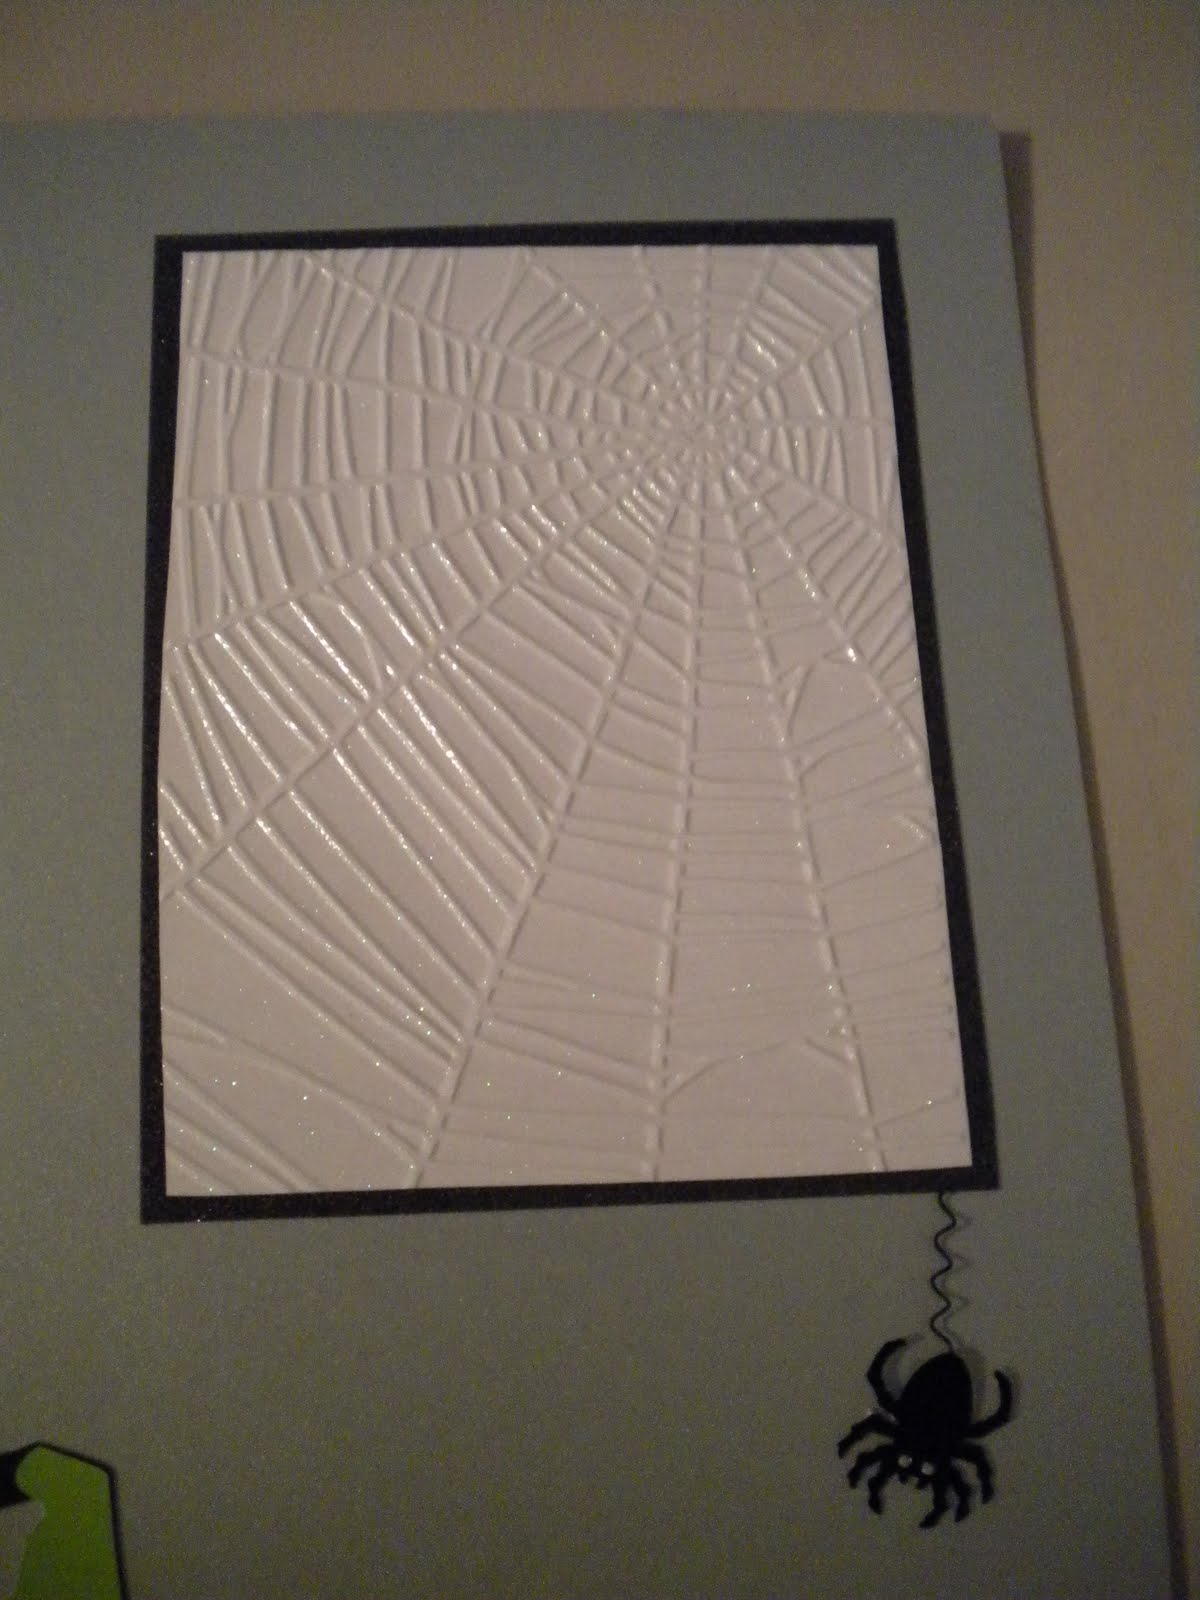
For the letter S - she spelled keys backwards and sent stickles, stamped images and santa tags.
Thanks again to both of you ladies, can't wait to use everything.
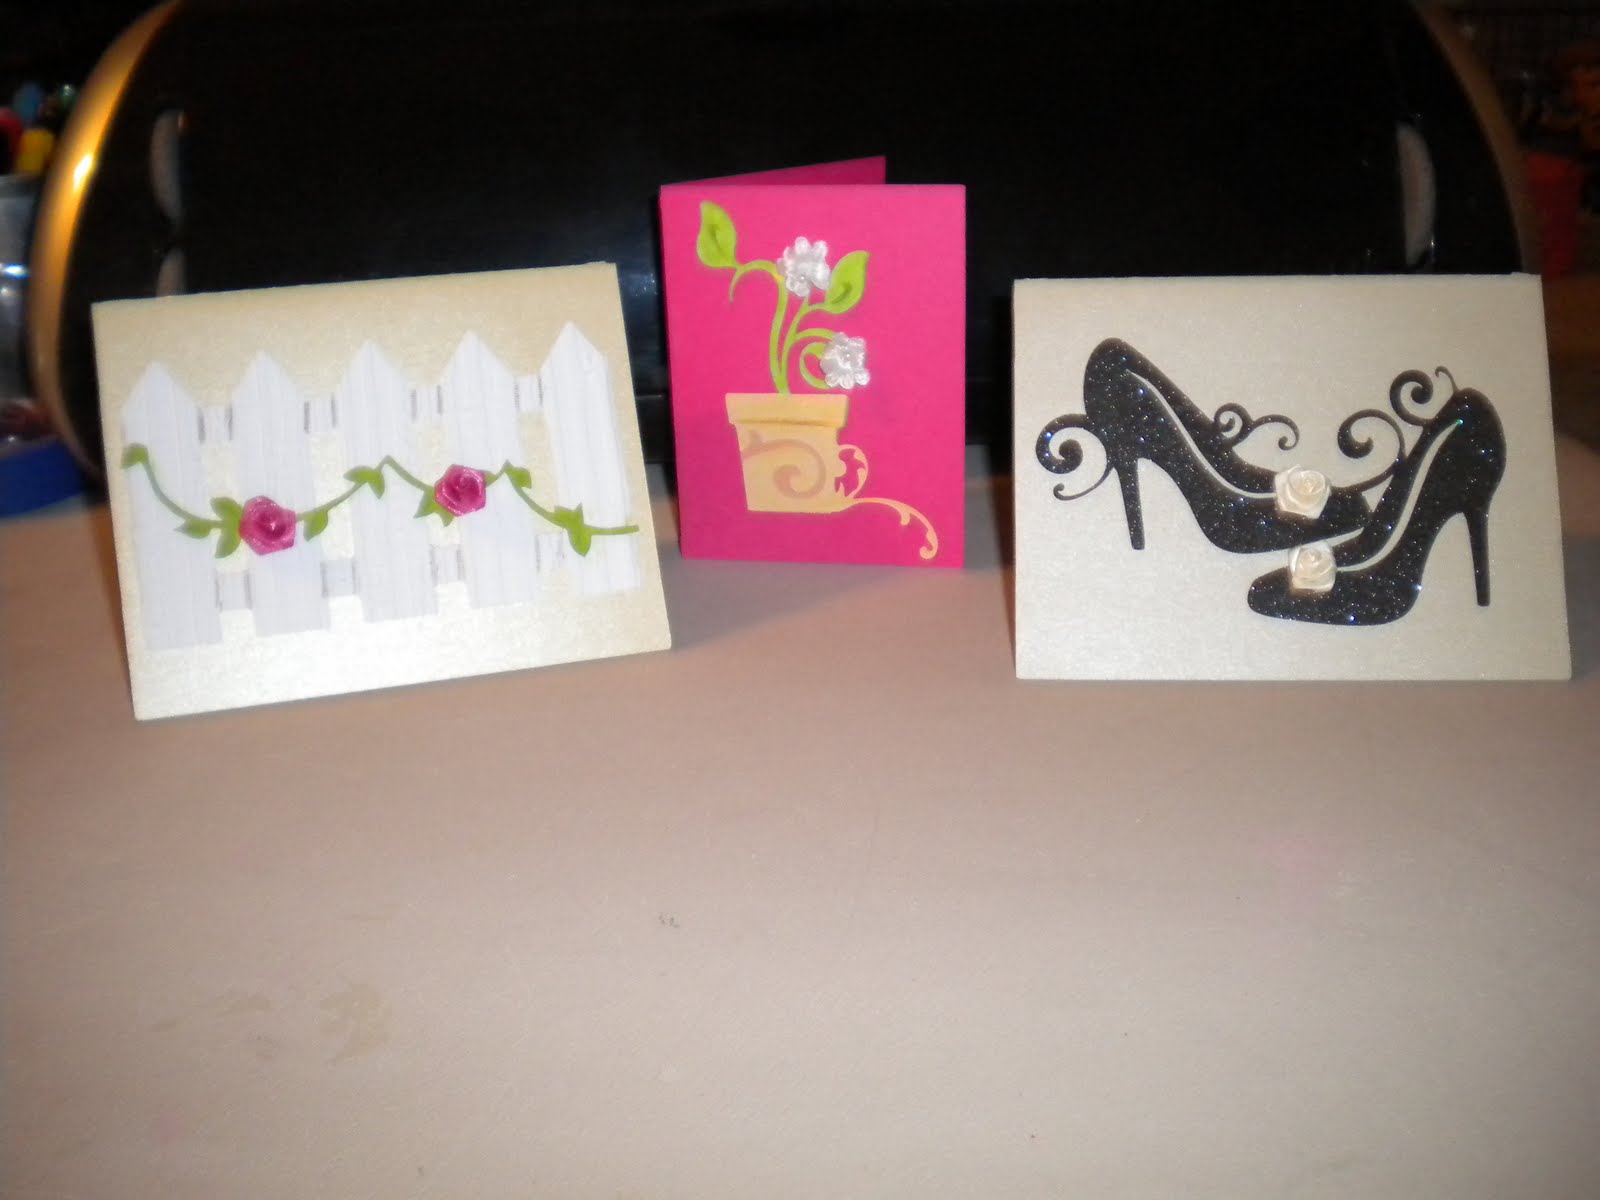
Monday, August 30, 2010

Flower Earring Cards

I first saw the Fence card with flower earrings at greenbeancrafterole's blog here: http://thegreenbeanscrafterole.blogspot.com/. I wanted to make my own version of her fence and had thought of some additional ones to make as well. This is what I came up with.

For my earrings, I purchased small bunches of flowers for 99cents a bunch at HL and cut them off of the stems. I then hot glued these to some earring backs that came for HL as well. I think these are a perfect size for the earrings. (I actually wore a white pair around most of the day, lol.)
Here is what the finished earrings look like before attaching them to the card.

Of the ones I came up with, this was by far my favorite. I love how the shoes look. The shoes are cut from Wall, Decor and More and I used black glitter paper for them. The beige flowers were added to this card. I used the Crop a Dile big punch to make the holes to attach the earrings through. The background card base is from Wild Card and it was cut with a beige shimmer cardstock. I then used the Storybook marquee cut for the inside.


This is my take on the fence card. The fence is from My Community and embossed with distressed stripes and the vines are cut from Zooballoo. This has the same background paper and inside cut as the shoes cartridge, but in a slightly darker shade.


The cut on this card is from Wall Decor and More and the inside cut is from Home Decor.

I will definitely be making many more of these for gifts. I am also going to try to think of some more shapes that you could incorporate the flowers into as well.

OTWC Challenge #22


This is my entry for the Off the Wall Craftiness Challenge this week. I really love these colors and may make another card, because these seem perfect for a chandelier layout or card, but anyways that's another craft, so on to this project. I made this card for my other grandparents for the upcoming grandparents day in September. I had seen this sentiment on some cards at Valentine's day and wanted to use it, so I thought this would be a good time. The letters and box on the front are from George and Basic Shapes, the base is from Wild Card and the Dinosaur is from Create a Critter and was embossed with the tiny bubbles folder. The inside sentiment was printed from the computer and the font used was Batang (this is a font that is included in your word fonts, nothing downloaded. Check out OTWC for great projects and challenges here: http://offthewallcraftiness.blogspot.com/

Cork Board (HDH054 Challenge)


The challenge at Haunted House Design this week was creepy cute. I have had this cork board that I found at the $1 store sitting in the closet waiting to alter, and this seemed like the perfect theme, because I had already intended on putting a cute skull on it. I painted the base with hot pink paint. All of the cuts are from the Rock Princess cart and I used lots of glitter paper on them. I hot glued ribbon to the board as well so that it could hang up. The side accents are hot glued on to make sure they won't come off. Then, I hot glued a thumb tack to the back of my smaller images so that this board would have it's own custom tacks. Be sure to check out all of the other projects for the HDH054 Challenge here: http://haunteddesignhouse.blogspot.com/. I am definitely going to have to look for some more of these boards at the dollar store to alter for gifts, because you could personalize these to anybody's style.

Saturday, August 28, 2010

First Wedding Layout


Okay, I have been married for 9 years and I never scrapbooked my wedding. I have the pics and stuff in an album, but I have been wanting to make a scrapbook for everything and just never worked on it. Today, I got all of my photos and stuff out and decided I would get started on that. The title on this page is from the sweethearts cartridge. I then cut a large heart from the George and Basic Shapes Cart and then cut a LOT of smaller, various sized hearts in different black and white shades to cover it. I then put my picture down and added a few red hearts on the larger heart collage. I covered them in red stickles. The background page was a white, preembossed page with hearts. I chalked the whole page with a light pink color to make the embossing stand out more and then outlined some of the hearts with a colored pencil. So, this is the first of many wedding layouts to come.

Friday, August 27, 2010

Rock Chick


I have been wanting to cut this girl off of the Rock Chick cart since I got it, so I decided to just make a little sign with her. (I think she kind of looks like that cartoon girl on the Esurance Commercials) Anyways, I cut the background for this out of Heidi Swapp paper at a size of 8 inches high and 9.7 inches wide. I added crystal colored glitters over the pearlescent gray paper in the title. Then, I cut the base of the girl out of black glitter paper, embossed her skirt with Love Language and colored the hearts in with the white opaque pen and embossed the motorcycle with divine swirls and went over the swirls with crystal stickles. I'm not sure if you can see it in the picture, but I also added some red accents like highlights to her hair as well.

Too Cute To Spook


After I made the Frankenstein layout yesterday, I was still in a Halloween mood, so I decided to make another layout. For this layout, I used the Don Juan cart for the letters in the title and I welded them together, Simply Charmed for the ghost and tombstone, and Storybook for the frame. I added some dots with a marker on the letters to make them not look so flat. I also used my white opaque pen on this one to add some accents to the tombstone. I also added some googly eyes, stickles, and a bow to the ghost and tombstone cuts and then a little bit of bling in the corners of the frame. I think this is so cute. (When I put the bow and stickles on the ghost, my hubby was coming in the room and he asked me why I had to make everything into a girl by putting bows on it, lol. He said that the ghost didn't have to be a girl, but then I told him it was a layout for Kaylee's scrapbook, so I thought it did need to be a girl. He is crazy, lol.)

Thursday, August 26, 2010

Frankenstein Layout


I found a new blog today that I really liked and she has a Halloween challenge going on right now. The blog is 40:31 Creations and can be found here: http://laurenscraps.blogspot.com/. The challenge was to create a card or layout for Halloween, so that is what I worked on this afternoon. The background paper on this one is Prismacolor Pearlescent paper. I then used glitter cardstock in white and black to make the photo area and I embossed the white with the spiderweb folder in the cuttlebug. The Happy Hauntings cart was used to make Frankenstein and his tombstone. I was having trouble getting the Frank N. Stein to cut for the tombstone (I think because it was to small), so I used a white opaque pen to write it in. I then added some moon, bat and spider stickers along with a little bit of wire to make it look like the spider is coming off of the web photo area. I was originally going to make this a 2 page layout, but then I decided I really liked it being 1 page with Frankie being the main focus.

Wednesday, August 25, 2010

Kaylee's Robot Fund

Kaylee is saving up money for this lego robot that is at Toys R Us for $300. She wanted a way to keep up with how much more she needed, so I made her a chart that she can fill in as she gets more money. She already has $100, so I went ahead and colored it in up to that point for her. All of the cuts on this are from the Robotz cart and then I printed a picture of the actual robot from the Toys R Us website to put on here as well. I used a black paint pen to make the marks and add the increments of $10 on their. I decided to go with pink and purple so it could be girly colors for her. The paper that this is on is 13x19.

Keychains


I made this keychain out of a domino piece that I had laying around. I first colored in the circles with a paint pen, then glued the image onto the piece with a zig glue pen. For the image, I measured the front of the domino and then printed out an image in that size. Once the image was attached, I then hot glued a jump hoop (jewelry section) with a keyring through it to the piece and covered the front with mod podge. It only takes a couple of minutes for the mod podge to dry and then the image is sealed on. The image I used on this is Gir from Invader Zim. I jus think this little guy is so cute, so I thought it would make the cutest keychain. You could make this with just about any image you like.
This is also similar to the scrabble tile keychains that I have made in the past with the exception that I covered them with glossy effects and you have to wait for about 4hours for it to dry. However, that does also give them a nice coat over the top that you don't get when just using the mod podge. If you use the glossy effects, make sure to get the bubbles out before leaving it to dry, or your image will have bubbles over the top. Here are a few pictures of some of the scrabble tiles I have made for examples as well.

Tuesday, August 24, 2010

Vinyl Projects


Today I decided that I needed to add a little bit of vinyl to my Bible and journal. I cut the key shape from Wall Decor and More and I cut the letters on the journal from Don Juan. This is my journal that I use when reading my Bible and when doing Bible studies, so I used pink vinyl on it so they would match. I really love how this turned out and am thinking about getting some journals to put vinyl on as gifts.

Glass Block


My husband's mother passed away a few years ago and I have buckets of pictures that I need to scrapbook for him, but I haven't worked on that yet. I did however, make him this glass block with a picture of him and his mom in it. I used clear adhesive on the feathers to attach them to the inside and used photo corners on the picture and poem. It was not easy getting these inside the box, but I am happy with how it looked once they were inside. I found this poem on the internet and I thought it went perfectly for a loved one that had passed away.
I am using this project for the My Sherri Craft's Challenge this week. Their theme this week is Miss You. You can find the My Sherri Crafts blog here: http://myshericrafts.blogspot.com/

Monday, August 23, 2010

Punk Cupcake Box (HDH053 Challenge)


I always look at the challenges and entries on the Haunted Design House blog for Macabre Mondays, but I have never participated. This week, the challenge was pink on the brink, to make a project using pink in an edgy way. I know my project is more cutesy than edgy, but I immediately thought of this little punk looking cupcake on the Rock Princess cart when I read the challenge theme. I had this wooden box my grandmother had given me, so I grabbed some hot pink paint and painted it and then attached my cupcake to the top. I added some rhinestones to her boots and some stickles to the cherry. I used a black paint pen to add the words "Who You Callin' Cupcake?" to the top and then added some black rhinestones at the front and end of the words. I then used some raindrop gel stickers in three different colors on the bottom of the box. I had light pink, medium pink and red, so I made a little pattern around the box. I am going to use this to store some of my bling in. I think it turned out really cute. You can find the Haunted Design House blog here: http://haunteddesignhouse.blogspot.com/