Tuesday, September 18, 2012

Guest Designer at Die Cuttin Divas: Elephant Layout

I am so excited to be a Guest Designer for this week's challenge over at Die Cuttin Divas.  This week's challenge is to use an elephant on your project.  Be sure to stop by and check out all of the wonderful projects by the ladies and enter the challenge here: http://diecuttindivas.blogspot.com/.

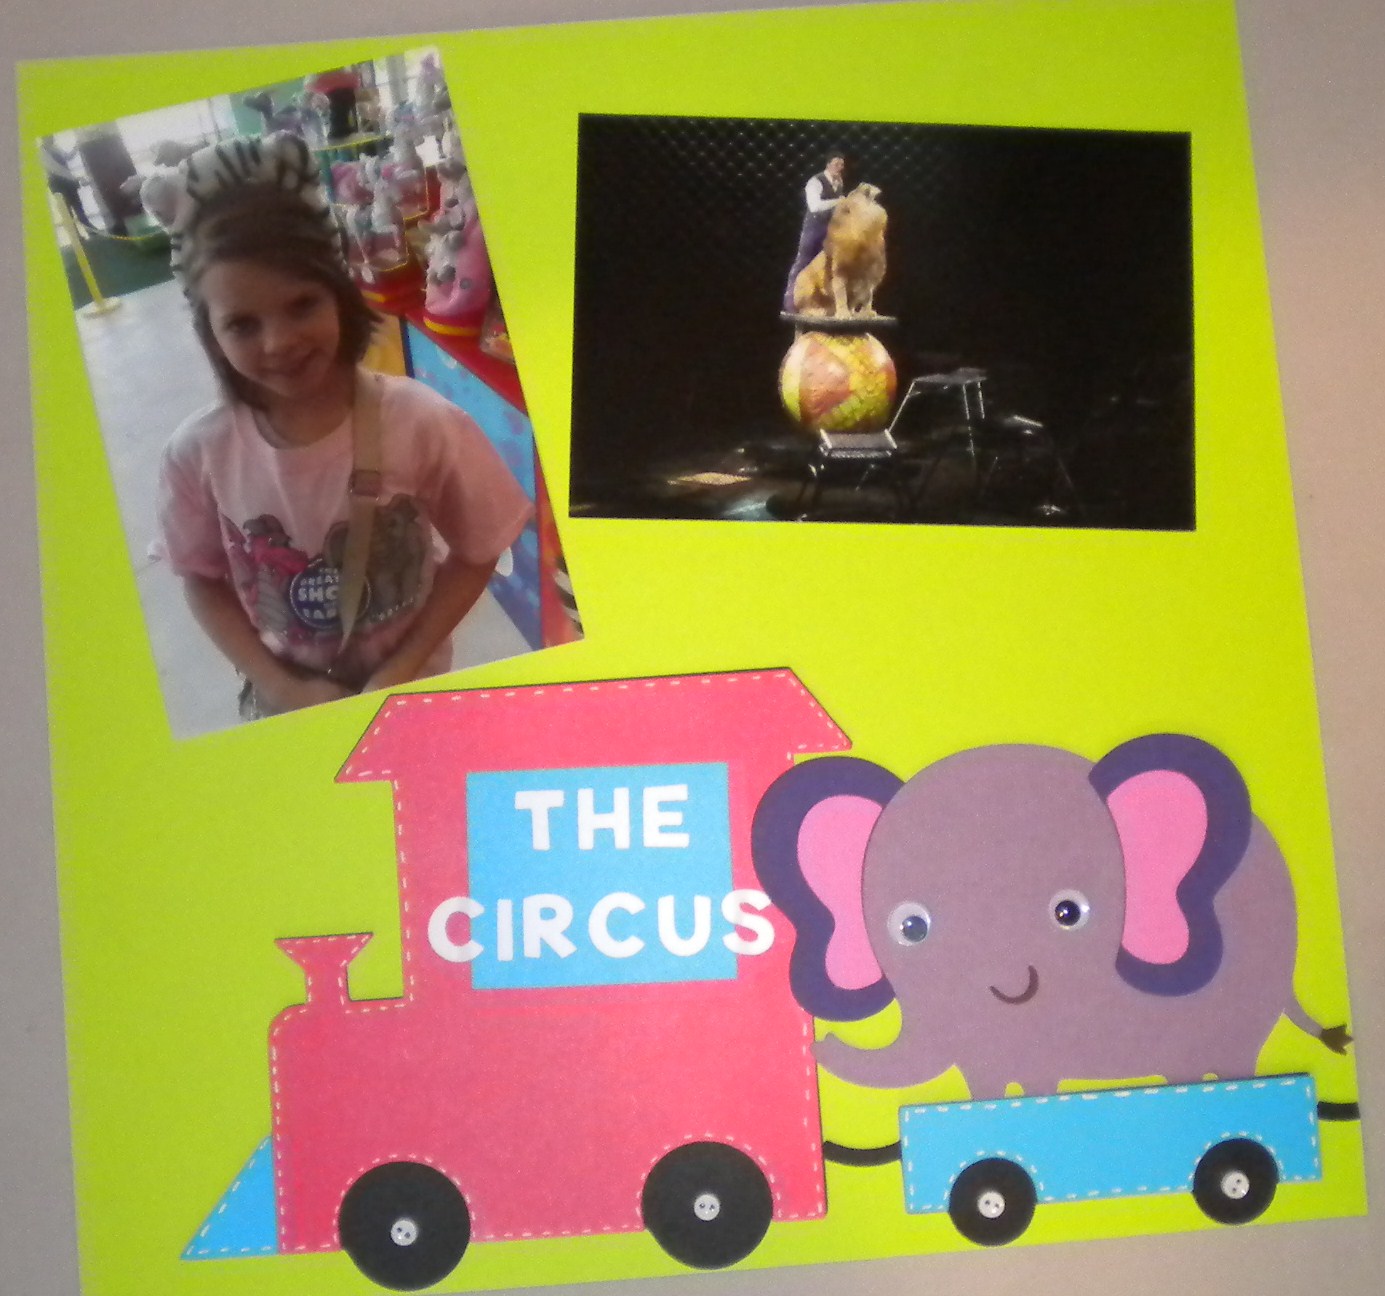
For my project, I decided to make a layout of the Circus.  I used the Create a Critter Cartridge for most of my cuts on this page.  I used it for the title, the train, the elephants and the lion.  I then used the Batman Font Cartridge for the words on the train.  I used a white gel pen to add some faux stitch marks to the train and added some mini white buttons to the wheels.  To finish it off, I added some google eyes to the animals.


Thanks again to the ladies of Die Cutting Divas for allowing me to be a guest designer this week. :)

Friday, September 14, 2012

Elton John Concert (not a craft)

So, I don't have a craft project to share today, but I wanted to share this with everybody. On Wednesday night, my hubby took me to see Elton John. It was amazing. I thought you guys may like to see some pictures.

Wednesday, September 12, 2012

2nd Grade Class Photo

Catching up on another layout from last year.  For this one, I went really simple and made a background page with the school name on it to be the focus.  I then cut a blue mat for the photo and added faux stitch lines and did the same for a premade 2nd Grade diecut I got at the local craft store.


Sunday, September 9, 2012

Popping into 3rd Grade

I made this layout with Kaylee in her 3rd Grade shirt I made her at the end of the last school year.  I actually got the idea for this layout from a billboard that I saw.  I used the Carousel Cricut Lite Cartridge for the Popcorn Box on the bottom.  I then used black vinyl and the Batman Cricut Font to cut the title "Look Who's Popping Into 3RD Grade".  For the popcorn, I took three circles and welded them together to look like a piece of popcorn.  I then layered these in the popcorn box and put a few on the page.  I used white puffy paint and a heat gun to give the texture of popcorn on the pieces.  Finally, I put a red mat behind the photo and outlined everything with a black pen.


Monday, September 3, 2012

Skull T-Shirt

I have seen a few different skull shirts on Pinterest and I wanted to make my own.  I had a plain white shirt that I didn't mind cutting up, so I decided to make one this afternoon.  I started with a plain white t-shirt and let my hubby free hand a skull face on the back with a marker. (Be sure to put some cardboard on the inside of your shirt so that the marker won't bleed through to the front).
Next, I took some fabric/sewing scissors to cut the pattern out.  You could use regular scissors, but you may have fraying.
I then cut the sleeves off and cut the neck line in some.  This is really up to you how wide you want the arms of your shirt to be.
I am going to wear this shirt over a black tank top, so here is how it looked when finished.