Monday, September 13, 2010

OTWC Challenge #24


Can you guess who this is in the picture? It is me! I took dance for quite a few years when I was younger and I have asked my mom to get out some of my pictures so I can make a scrapbook with them. I had a few of them here already and when I saw the colors for the challenge this week at Off The Wall Craftiness, I thought this picture would work good with them. This is a picture from my third year of dance. For the layout, I cut the heart border from the Storybook Cart on page 55. I cut the Tall Border with the Fit to Page function. I then cut the accent frame from page 51 at a size 3 3/4. I didn't use the Gypsy on this one because I had it sinking and updating on the computer, and I was laughing at myself, because I was thinking now how do I use the cricut by itself, lol. Anyways, I added some pearls to the swirls in the border and I added Cotton Candy colored stickles to the frame. I then added some glitter prima flowers that I put some blue ink and a pink gemstone on to spruce them up. The word dance is stickers. I really liked how these colors worked together. Be sure to check out the OTWC blog for great projects and challenges here: http://offthewallcraftiness.blogspot.com/.

Saturday, September 11, 2010

Happy Fall Layout


I used Simply Charmed for the title and scarecrows on this layout. I used some glitter pens, googly eyes, mini buttons and a little flower gem to spruce up the little scarecrows a bit. I think they turned out super cute. I hand cut both layers of the mats for the photos. (I had already turned the Gypsy and Cricut off, so I just decided to measure them out and cut them myself. Old School Style you know, lol) I also used some leaf flat back buttons to embellish the photo areas. The background paper on this one came from a paperstack called vintage solids. The leaf paper that I used as the photo mat base came from a set of autumn papers that came from the Target $1 area. I love this Simply Charmed cart, because it has really cute cuts for basically every season.
Update 9/16: I am putting this into the Serenity Scrappers Challenge. They are having a Weather challenge, so since I am so wanting fall to hurry up and get here, I thought this would be a perfect entry. Be sure to check them out here: http://serenityscrappers.blogspot.com/

I am linking these up to the Craft-O-Maniac Monday link party.  I just found this blog and there are tons of great projects there and you can link projects on Mondays which gives you lots of inspiration from other crafters as well. Be sure to check it out here: http://craftomaniac.blogspot.com/

Thursday, September 9, 2010

Spelling Test Layout


Kaylee made a 100 on her very fist spelling test in the first grade and it was a big deal for her, so we thought it needed to be scrapbooked. I used the Locker Talk cart for the Good Job cut on this page and I used a House Mouse Stamped Image that I received in a recent swap on the cricut board. I colored it in with prismacolor colored pencils. I handcut the triangles in the corner for a journal spot. I also handcut the mats for the photos and used a blue glitter pen to make the stitching lines on this. I also used the blue glitter pen to do the journaling and to color over the words on the title also.
I am putting this into two challenges for this week:
My Sheri Crafts: Challenge is anything goes http://myshericrafts.blogspot.com/
Fantabulous Cricut: Challenge is to do with work, job, congrats, etc. http://fantabulouscricut.blogspot.com/

Ladybug Card and Box Gift Set with Matching Envelope (OTWC Challenge Entry)


Above is the inspiration photo and colors for the color challenge at Off the Wall Craftiness this week. http://offthewallcraftiness.blogspot.com/ I needed to make a card and gift box for my grandmother who loves ladybugs, so I decided to add blue with the red and black of the ladybug. For the card, I used the Create a Critter cart and designed the card in the Gypsy. I used a blue base and googly eyes with blue eyelashes on this to incorporate the blue color. I made the box out of black cardstock with the following dimensions. The box was cut at a size 8 1/2 by 6 3/4 and then scored at 2 1/4 inches on all sides. I then cut the side score lines and folded it into the box shape. The handle is 1 1/2 inches wide and 11 inches long. For the handle, I used the EK Success Swiss Cheese punch on the black and then put a red base on it. I used the Create a Critter cart for these lady bugs as well and used the red circles from the ladybug cuts to put on the sides of the box. I did not have anymore of the blue eyes, so I used ones with white eyelashes on these ladybugs Finally, I used the George and Basic Shapes Cart to cut some black circles and used them to decorate the red envelope to look like Ladybug spots as well. My sisters and me all went in together to buy her some sapphire earrings, so the earring box will fit nicely into the little ladybug box that I made. You could use just about any cut on these little boxes for any theme you needed.

Wednesday, September 8, 2010

Mini Notebook


I took some patterned paper and covered a mini composition book on the front and back using zig glue. I then used the Gyspy to cut two scalloped circles in white and blue that I popdotted on the front of the notebook. I used a stampin up mini mates stamp to put the Just a Note on the circle. I used some mini glue dots to add blue stickles to the corners.

Painted Wooden Bag


This little wooden bag type box came from Hobby Lobby. I used Hot Pink paint on it and then used the Wall Decor and More cart to cut out the dancer shape and the word dance. I adhered them to the container with zig glue. I also used a white opaque pen to do some faux stitch lines on this.

Prayer Bugs


These are some prayer bugs that I made quite a few of last year for some of my family members to give to ladies at church and for a craft show. I have also used these to include in cards that I send out to people on the church prayer list or any friends in need of a pick me up. The lady bug was cut from the Doodlecharms cart and was cut at a size 3 inches for the black body and red wings. I added small googly eyes to them and used a white opaque pen to draw the smile on the mouth. I then used a mini glue dot to add the small heart button to the back side of the ladybug. The bags are the small jewelry bags that come from Hobby Lobby and I used the computer to make the labels that are folded over the bags. The labels are stapeled at the bottom to attach them to the bags. The label for these says: "I'm a litle prayer bug Being sent your way As a reminder that Someone cares and is Praying for you today! Turn me on my tummy and you will see, a heart full of Love and hugs from me!" I have also thought that you could add a magnet to these and use them as magnet gifts as well.

Email Subscription Now Available

I just wanted to let everybody know that I have added a link to the sidebar under my photo so that you can sign up to receive emails of new posts if you are interested. I had a few people ask me to add this, so it is now active. Thanks to all of you that follow me! I love your comments and enjoy you all coming by to visit the blog!

Tuesday, September 7, 2010

Engagement Layout


For this layout, I used some paper from a paper stack called Elegant white on white which I got from Hobby Lobby last week while they had their paper stacks on sale. (24 sheets for only $5) Anyways, I used George and Basic Shapes for the rectangle to matt the newspaper clipping, Storybook for the journaling marquee in two layers, and the Sweethearts cart for the silohettes of the man and woman. I did add a rhinestone to the ring. The Hershey Kiss on here was drawn in pencil and then filled in with a black paint pen and silver stickles. I had to add the kiss, because me and my husband have an ongoing thing with Hershey kisses. When we first started dating he asked me if I wanted a kiss and then pulled one out from behind his back, this was a recurring theme through our relationship, and when he proposed to me the first ring box he opened for me actually had a Hershey Kiss in it, then he gave me the real ring box with the ring. So, I thought that was something that had to be incorporated into the engagement layout.

Cricut Memo Clips


I found these memo clips that have magnets on the back in the back to school area at Walmart. They had a few different colors, but I instantly thought that the cricut bug head would be great on the green. I cut the bug head pretty small and then hot glued it to the top of the clip. It turned out really cute. Just make sure that you use good cardstock if you make some of these, so they will hold up good when you open the clip.

Monday, September 6, 2010

Birthday Card and Gift


I bought this really cute bank a few months ago to put up for my cousin's third birthday. When I saw it, I was thinking that it would be perfect to put her name on. I used the Don Juan cricut cart and white vinyl to cut out her name and put it up the side of the bank. I then added some stickles to the star on the wand. For the card, I had some card blanks left over from Valentine's day and I thought the pink girly color would work with the theme I had going. In the recent swap I did on the cricut board, I had received this cute Tilda stamped image that me and my hubby thought really looked like my cousin Hannah, so I cut her out and put her and a number 3 sticker on the front. (My hubby actually drew the little mouth on her, because he thought she looked wierd without one, lol.) On the inside, I had wrote the following "Turning 3 is tons of fun. Hope you have a Happy Birthday!". I really love how the card and bank turned out. My only worry now is that Kaylee is going to want one of the banks, because I bought the only one they had, lol. George said this was a little young looking for Kaylee, but I guess if she likes it I will be stalking the store seeing if they get another one in.

31 Days of Horror Announcement

Every year, my husband and me do a thing we call the 31 days of horror where we watch a Halloween movie everyday for the month of October. We always double up on some days to account for the time that we are out of town in October as well. It is a big month around here with pumpkins and buckets being painted for the farmer's market and getting ready for the Halloween party as well. We have been doing this with the movies since we got married, so it is a great family tradition for us.

My hubby actually came up with the idea of me having a 31 days of horror on my blog by featuring a Halloween project everyday for the month of October. So I am going to be sharing something Halloween related every day for the month of October be it a layout, card, sign, candy related, etc. For the week that I am out of town, I won't have any posts, but I will post projects for those days when I get back to catch up.

I am also going to do some giveaways as well. So be sure to remember this if you like Halloween projects. This will begin October 1st. I will also be working on my other projects as well, so if you are not really into Halloween, I will still have other projects as well during that time.

Saturday, September 4, 2010

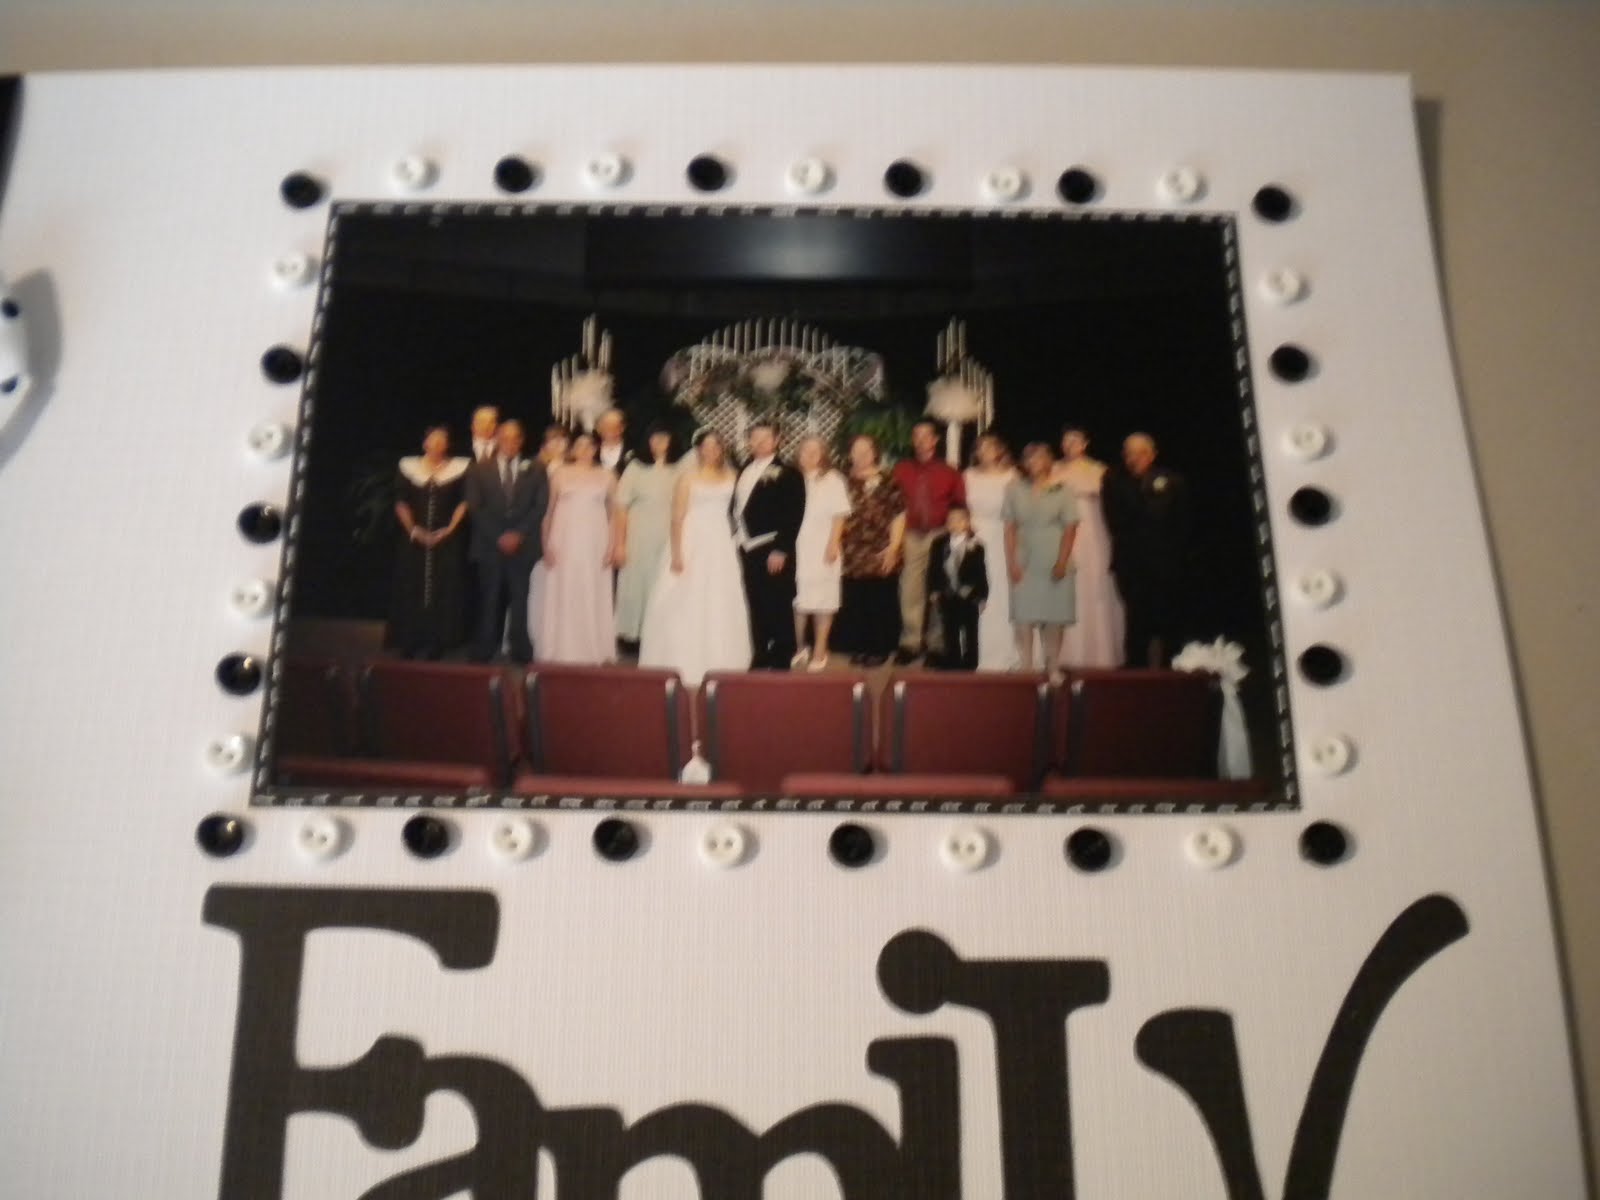
A couple more Wedding Layouts


I worked on two more wedding layouts last night. I used the sweethearts cart to cut the lock for the first layout, used some gold sheen paper and a gold ribbon, a Tim Holtz word key that says heart, and some flower buds around the picture. The lock was distresses with a MS sepia pen and some Tim Holtz walnut distress ink. On the second layout for my invitation, I kept it pretty simple by outlining the invitation in a light purple and then using the Sweethearts cart for the swirl cut and the save the date cut. The cuts are on a white paper that was preembossed. I thought it seemed too white for the paper, so I inked it with some Tim Holtz antique linen distress ink.

Friday, September 3, 2010

Buttons and Bows Challenge


I found a new blog, Serenity Scrappers, that is really great and has a challenge going now to use buttons and bows in a 12x12 layout. I made this layout using the Gyspy Wanderings for the title, I layed ribbon and bows up the side and then used mini buttons in black and white to make a frame around the picture. The picture also has a black matt that I did faux stitching on with a white opaque pen. The paper is called linen white and black and has a neat texture to it, but I am not sure how well you can see that in the picture. Be sure to check out the Serenity Scrappers blog here: http://serenityscrappers.blogspot.com/

Thursday, September 2, 2010

More Wedding Layouts


The only Cricut I used on these layouts are the titles and they were cut from the Sweethearts cart. I really loved these bows. I actually found them in Walmart near the sewing department. The ribbon on each layout is from Hobby Lobby. I have tons of thinner ribbons, but since I don't use the thicker ribbon as much, instead of buying a spool of it, I just bought half a yard of the white and black and it ended up only costing 52 cents, so just a tip if you are wanting some ribbon for a layout and not wanting to buy a whole spool. I loved the background paper that I used on these, because it looks very elegant. Thanks for looking. Hopefully I will get some more of my wedding layouts done this weekend.

Wednesday, September 1, 2010

Pumpkin Candy Guys


I spent today making these little candy men for Kaylee to take to her first grade class closer to Halloween. The pumpkin is cut from the Mini Monsters cart. I then cut a blackout of the shape for the back of these guys. I stapled the candy to the back part and then glued the top pumpkin over that so it would cover the staples and secure it. The candy is called sixlets and you get 20 pouches in a bag at the dollar store. I think these guys are really cute, but it took a while to put them all together. I made 23 of them. I am sure Kaylee will love them.

Update: 9/26: I am linking this up to the Craft-O-Maniac Monday Link Party. You can visit the blog here: http://craftomaniac.blogspot.com/