Sunday, October 24, 2010

A Few Vacation Photos

Here are a few pictures from our vacation.  (We took over 1000 pics, so I will have tons of scrapbook pages coming up with them later on)


This is at the top of the 65 foot tower in Key West.  I am not that fond of heights, so this was a big deal for me to climb this, lol.  Halfway up I was going to turn around, but my hubby convinced me to finish.
 By the funnel on the boat.
 This was the view from our balcony.
 Atlantis!!!  I absolutely loved this place.  I would really like to go back here for a few days.  In case anybody wants to know, the rooms in the middle part of the tower were $25,000 and you had to book a 4 night minimum. I won't be visiting those rooms for sure, lol.
 George picked up a starfish.  Very wierd feeling.  It is actually hard like a shell.
 Here is me and George at the Southernmost Point.
 Me and my sister on the back of the boat before we left the Bahamas.
There was a rainbow one day after it rained a small bit, but this was the best picture I could get of it.
 This was the view of the ship we were on from the tower in Key West.

Saturday, October 23, 2010

Day 24 of Halloween Projects: Boo Banner

For Day 24, I have a banner to share with you.
I used the Tags, Bags, Boxes and More cart to cut the base tags.  Then, I used Happy Hauntings cart for the font and A Child's Year for the witch cuts.  In the Gypsy, I reversed one of the witch cuts so I would have one for each side of the banner.  I next used ribbon to attach all of the tags together and then covered the holes that the ribbon was tied to with a small bow.
This also went to my mom's house for decorations, but I wanted to give you an example of how it would look hanging up, so I took this picture of it hanging on my stairs.

Back Home

I am back home from my trip.  It will take me a few days to get back organized and tomorrow is the Halloween party, but I am going to be back to normal hopefully by Monday.  Also, not sure what blogger is up to, but I scheduled Sunday's project to post and it looks like it already posted it.  Hope everybody has had a good week and hope that you are ready to finish up the last week of the 31 Days of Horror.  I will share a few pictures from the trip with you in the next day or two.  (Took over 1000 pics combined between all of us) 

Thursday, October 14, 2010

Out of Town on Vacation

Just a reminder, I am leaving tomorrow for vacation and will be out of town through October 23rd.  If you scroll down, I have posted all of the Halloween projects for each day that I will be gone.  Hope you enjoy everything that I have to share with you for those days.  I will not have internet access while I am gone, because I will be on a cruise, so I will answer any questions and get back to visiting everybody as soon as I get back.  The 31 days of Horror will go back to daily posts as usual as of Oct. 24th!!  Also, be sure to get your guesses in for the Candy Corn Counting Contest if you have not yet.  The direct link is at the top of my blog. 

Talk to you ladies when I get back and I will be sure to take lots of pictures to share with you.  We will be cruising to Nassau where we are visiting Atlantis, Freeport and Key West.  Hope everybody has a good week.

Day 23 of Halloween Projects: Metal Tin Mini Album

For Day 23, I am sharing with you a metal tin mini album. 

I purchased this mini tin that came with a blank album inside.  I painted the front orange and then used a paint pen to add the face.  The album is being held closed by ribbon that I tied around it.  I took patterned paper and attached it with a glue runner to the inside and added stickers and decorations to embellish it.


Day 22 of Halloween Projects: Ghost Candelabra

For Day 22, I am going to show you how you can dress up an inexpensive candelabra to make it unique for you. 
I got this candelabra out of the Target Dollar Area for $2.50.  This is how it looked out of the package.

I used the Happy Hauntings Cartridge to cut ghosts out in various sizes.  I also had some small ghost confetti that I used for this as well.  I used mini glue dots to attach the confetti and hot glue to attach the ghosts.  I then used black ribbon to put through the holes in the top to hang it up.


Here is another picture of it hanging.  I just hung it in a doorway of my craft room so I could show you how it would look hanging, this will not be its permanent home.

Day 21 of Halloween Projects: Crepe Paper Wreath

For Day 21, the project for today is a Crepe Paper Wreath.  This technique could also be used to make a wreath in other colors for different occasions as well.
For this wreath, I started out with a floral wreath from the Dollar Store.  This is one of the foam wreaths that is covered in plastic when you purchase it.
I wanted it to be a little more rounded, so I sanded down the edges to give it more of the shape I was looking for.
Next, I took black crepe paper and wrapped it around the wreath to cover it.  I used pins to attach it around the back.
Next, I took the rest of the crepe paper and made 4 inch strips.  Depending on how full you want the wreath to be, will determine how many strips you will need.
Now, you take the strips and fold them into loops to attach around your wreath.  I used small pins to attach these to the wreath.  You can place them however you like and they should cover up the pins as well as you place more around the wreath.
Once your wreath is fully covered, you may have a few pins showing, but they can be easily covered up when you decorate it.  Add embellishments however you like.  I wanted my wreath to be a little spooky, so I used some plastic skull heads (came in a bag from the Dollar Store) and some glitter spider confetti (came from Party City) to decorate mine.  You wil need to hot glue the decorations to the wreath so they will stay put.  I then used a thin black ribbon and pinned it to the wreath to be able to hang it.  The wreath is very light, so you don't need thick ribbon at all.

Day 20 of Halloween Projects: Halloween Flower Pots

For Day 20, I wanted to show you how you can take small flower pots and decorate them for Halloween.  I have made three different flower pots here: Frankenstein, Mummy and a Pumpkin.

For the mummy, I painted the entire pot white, including the bottom part which I used for the lid of these holders.  Next, I used a black paint pen to make the lines around the pot and then hot glued some google eyes on the pot.  (I also painted the inside of the pots as well)
For the Pumpkin, I painted the base of the flower pot orange and the lid green.  I used a black paint pen to add the face.  I then took one of the mini spools I have been using and painted it brown to be the stem.  I attached it to the top with hot glue.
For Frankenstien, I painted the pot green and then painted the black for the hair.  I used a paint marker for the mouth and the stitches.  I then hot glued google eyes on the face and spools on the sides for the bolts.
Here is a picture of how the insides look painted.  I filled the pot with candy and also have a picture to show you how this looks.

Day 19 of Halloween Projects: Ornaments

For Day 19, I have some different ornaments for Halloween to share with you.

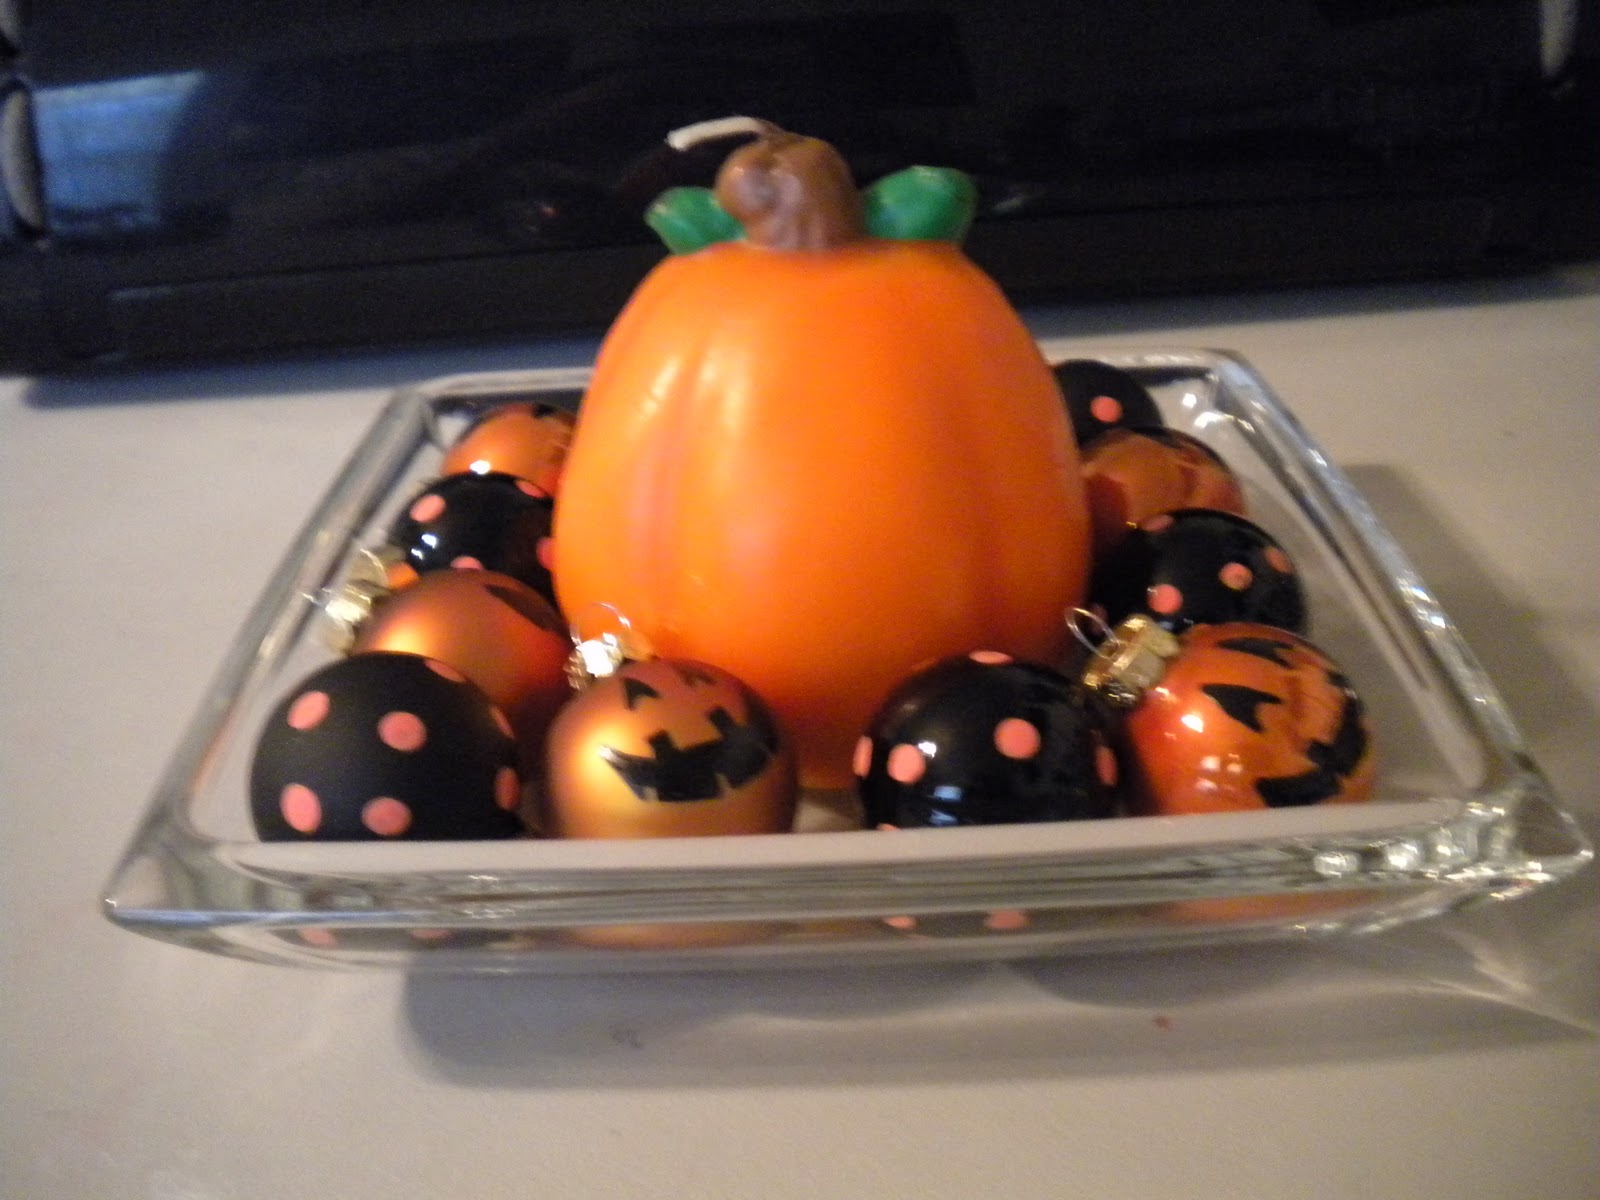
First, I have an arrangement made with a pumpkin candle and mini ornaments.
First, you will need to get your ornaments.  For these, I bought a package of Halloween mini ornaments from Hobby Lobby.  The package I bought had 4 orange ornaments and 4 black ornaments.  I used a black paint pen to draw the pumpkin face on the orange ones and then used a q-tip dipped in orange paint to put the dots on the black ones. 
In addition to these small ornaments, you can also decorate regular sized Christmas ornaments for Halloween as well. I made three different ones to share with you, Jack Skelington, A Pumpkin and Frankenstein.
First, you need to get your clear ornaments in whatever shapes and sizes you want to use.
Next, you will take acrylic craft paint in the color you would like and put it directly into the ornament.  You can put a little in at a time and move it around until the inside is completely covered.  I used white, orange and green paint for these ornaments.
Once your ornament is covered on the inside with paint, you will need to turn it over into a small cup so that you can drain out all of the excess paint that is still inside. 
Once all of the extra paint has drained out, you can replace the top of the ornaments and you are ready to decorate them.  For Jack Skelington, I used a black paint pen to draw in the face and then attached white ribbon to hang him from.
For the pumpkin, I once again used the black paint pen to draw the face and then attached orange ribbon for him to be hung from.
For the Frankenstein, I used the black paint pen to draw his hair and his mouth, I then used the white paint pen to add his stitches to the front and back.  Next, I hot glued google eyes to his face and mini spools to the side of the ornament for the bolts.  The spools were painted with silver paint. I finally attached a black ribbon for this one to be hung up by.
These ornaments would be good if you had a Halloween Tree, they could be put on a branch, they could be added to a banner, etc.  I think they also make cute gifts to give out with Halloween treats.