Friday, August 20, 2010

Some Halloween Ideas to Share

I did not have my blog last year at Halloween, so I thought that since I am getting geared up to work on Halloween projects for this year, I would share a few of the projects I did last year with you guys in case anyone is looking for Halloween ideas.


These smores in a bag were a big hit. I used the MS drippy goo punch on these and just used graham crackers, individual mini chocolates and Halloween peeps inside.

These are all small stones that I got and painted on and then added magnets to the back of them.
These are pencil toppers. I cut the spider from the PaperDolls Dress Up cart and just cut a small slit in his mouth to fit through the pencils. (You can make these with just about any cricut shape, I have made them with footballs, aliens, flowers, etc)
These are candy bar wrappers that I made. I covered the bar with a beige colored paper and then I used gauze to cover them and then added the big googly eyes. I should have made these for all of the age divisions in the costume contest, because they were the favorite. The little tags have a person from PaperDoll Dress Up on them and the words were printed on the computer and then laminated.
These awards were also made with PaperDoll Dress Up, printed on the computer and laminated. I bought these suckers at Walgreens last year for $1 each.
I made these candy bar wrappers with shapes cut from PaperDoll Dress Ups and made the awards the same as the other two.Now, I need to get busy figuring out what I am going to make for this year's Halloween party, lol. Halloween is big around our house, so we make a ton of things and my husband also paints pumpkins and buckets for the Farmer's Market as well, so I should have lots more Halloween projects to share with you as it gets closer to October.

First Day of School

Even though the picture doesn't look like it, Kaylee was actually excited about her first day of school this year. She started first grade this year. This is a sheet of reminiscense paper that I got. the 2+2+4 on the page, I added with a white opaque pen. The background mat of the picture and the grade 1 square were both cut from a sheet of paper that came from Michaels. The notebook paper and pencil are from Simply Charmed which is quickly becoming my favorite cart. I just think the faces on them make them too adorable!

Thursday, August 19, 2010

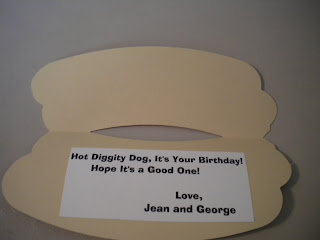
Hot Dog Birthday Set


I just got the Simply Charmed cart in the mail yesterday, so I couldn't wait to use it. I normally don't get the HSN exclusive carts, but I just loved this one and had to have it. My dad has owned some concession stands in the past and we used to jokingly call him the hot dog man, so I thought a hot dog card would be perfect for his birthday. In addition to the card, I also used the Storybook marquee cut to make a gift bag for the gift card I bought him. I cut two of these and used the gypsy to cut the oval handle in the middle. I then glued them to a white papersack that I had trimmed down to the right size and attached a bow. It was really simple to put together and the layers on this new cart were very simple as well.

I am putting this set in the More than Favors Wacky Wednesday challenge for the Birthday Theme this week. You can find the blog here: http://morethanfavors.blogspot.com/

Just Because Card


I made this card with some White shimmer cardstock and Black glitter cardstock. The base shape was cut from George and Basic Shapes. The chandelier was cut from Home Decor and the frames are the marquee cut from Storybook layered. I added some rhinestones to the chandelier to give it a little bling. The just because is a Stampin Up minimates stamp. I really like how this card turned out, it seems very elegant to me.

I am putting this card in the Cricut Cardz challenge this week. The theme is anything goes. You can find their blog here: http://cricutcardzchallenge.blogspot.com/

Wednesday, August 18, 2010

I won!!

I just found out that I won the Game Time over at Audrey's blog Cute and Some, so I am going to be getting a wonderful paper pack from her. I just wanted to tell her thanks again and to let everybody know if you have not visited her blog before, be sure to do so because she has wonderful projects! You can find her blog here: http://cuteandsome.blogspot.com/

Sandcastle Mini Album


I had told my grandmother and aunt that I would make them an album from our trip to the beach this year, so I have been working on those the past two days. The albums are basically the same, except for a few embellishment differences inside, but I am only going to post pics of the inside of one album. I cut the sandcastle from the Create a Critter cart and I used heavy duty cardstock as the base and then added the papers, etc. For all of the seashells and embellishments on this one, I hot glued them instead of using the zig glue just to make sure they would stay secure on the album. I haven't really made a lot of mini albums, so I was so happy with how this one turned out.

I am also using this for two challenges this week:
Fantabulous Cricut - Challenge is to make a project with an outdoor activity as the theme, so I thought the beach would fall into that. You can check them out here: http://fantabulouscricut.blogspot.com/
Practical Scrappers - Challenge is to use stitching. I have used faux stitching in this album around the pictures on the 2nd, 7th, 8th, 9th, 10th, 11th, and 12th pages and also have some stitching lines by the sanddollars on the 5th page. These were all done with a white opaque pen. You can check them out here: http://www.practicalscrappers.com/

Monday, August 16, 2010

Sleepy Hollow Layout


I found a neat blog that has some challenges and great stuff on it, so I wanted to enter the challenge for this week. The blog is The Burtonesque Dolls and you can visit it here: http://theburtonesquedolls.blogspot.com/.

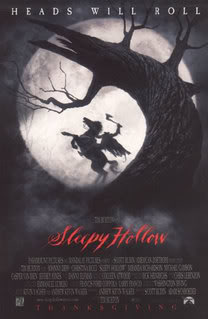
The current challenge they have is to make a card/project inspired by your favorite Tim Burton film. I decided to do an 8x8 layout on Sleepy Hollow. (It was hard to choose, because I love a lot of his movies, but I think this one ranks up there as my top) I used the movie poster as inspiration to go by when making this layout. I used the George and Basic shapes cricut cart to cut the 8x8 square and the circle for the moon. The moon was cut with iradescent white paper and then inked with the Tin Holtz Black Soot. The Happy Hauntings cart was used for the tree and the headless horseman. For the tree, I cut this onto a black glitter paper, then I embossed it with the Forest Vines cuttlebug folder and then cut the edges off to fit it onto the page as I wanted. For the horseman, I cut him without the pumpkin in hand and instead welded an ax from the Paper Dolls Dress Up cart into his hand on the Gypsy. I used a lot of inking on this page with the Tim Holtz distress inks Black Soot and Antique Linen and then I also used some Martha Stewart white ink for a fog effect. In addition to the ink, I added some white chalk over the ink and the horseman at the bottom. I really like how it turned out.

OTWC Challenge #20


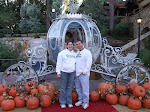
This is the layout that I made for this weeks color challenge at Off the Wall Craftiness. The inspiration photo and colors are above. The photo is of my mom and Kaylee on the 4th of July. I used the storybook cart to make the lace paper background on this page. I picked one of the frame cuts and just used the fit to page feature on the cricut. This cut the image at 11inches and left a border, which I thought looked nice on the page. I then added some white flowers with beaded centers and inked the edges of them purple, along with some pearl accents. I thought this turned out really nice and liked how the colors worked together. Be sure to visit Kim's blog for great challenges and projects at http://offthewallcraftiness.blogspot.com/.

Utensil Holder


My Sheri Crafts (http://myshericrafts.blogspot.com/) challenge this week is to make a kitchen theme project. I saw this while out shopping earlier today and thought it would make a great utensil holder. I used the Wall Decor cart to cut the Rooster in Vinyl to add to this. I once again used the joint tape to adhere the vinyl and it made things so easy. (BTW, you can get a large roll of it from Walmart for about $4. I bought my roll at the beginning of the year and still have the majority of it left) I took some pictures to show you how I worked with the vinyl and joint tape. This has been working great for me and made working with vinyl so much easier.


I apply the joint tape to the image before removing it from the paper.

Then use the cricut spatula to remove the vinyl.
Now, your image will lay straight and then you can use the spatula to pull the joint tape off of the top. This tape is not very sticky, so it comes off easily and does not leave any kind of residue.

Saturday, August 14, 2010

Halloween Vinyl Project


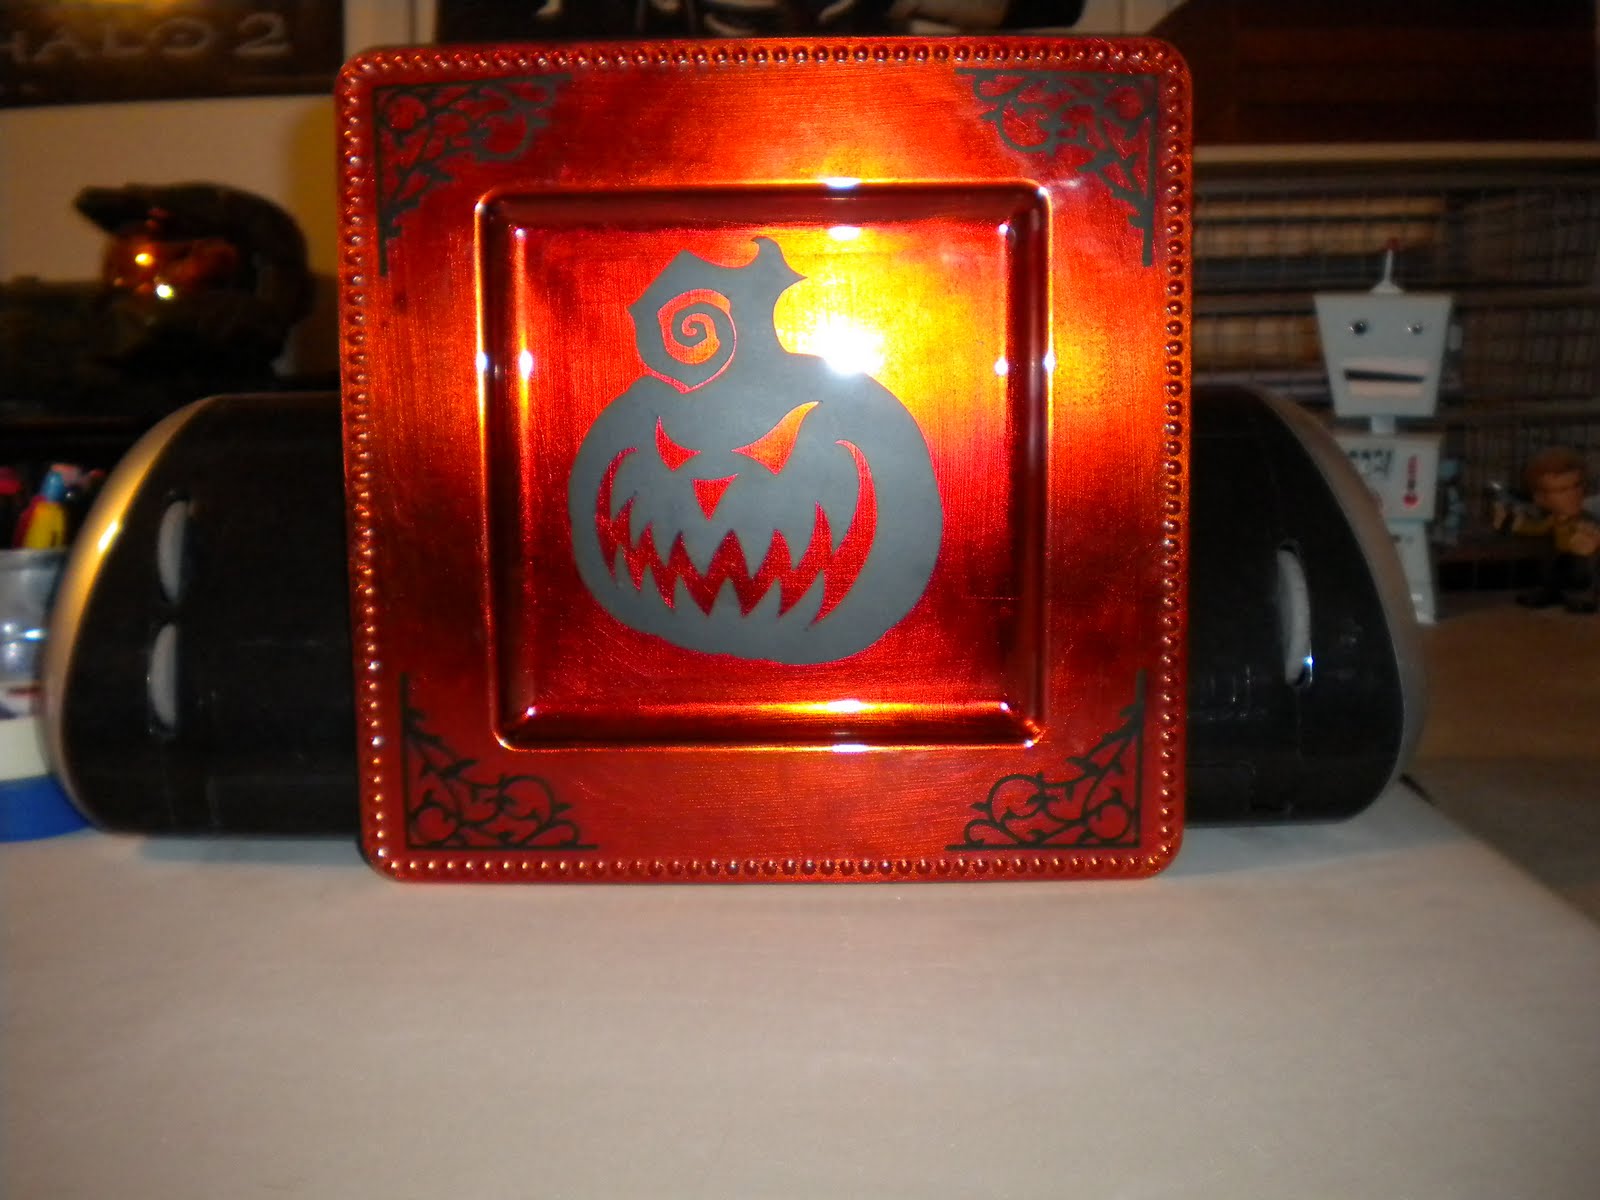
I found a new challenge blog this week which had the theme of Halloween for the challenge, so I decided to do a project for it. The blog is more than favors: http://morethanfavors.blogspot.com/.

I saw this orange charger plate at Party City for $2.99 and I thought it would look great with some vinyl on it for Halloween. The Jack O Lantern in the middle is from October 31st and the corners are from Heritage. I cut these images with vinyl and I used joint tape on top of the vinyl to line it up and lay easier, because I didn't have any contact paper, but the joint tape worked great and made it a lot easier to work with the vinyl. I really like how this turned out and think it will be great for goodies at the Halloween party.

Thursday, August 12, 2010

Key West Layout


Me, my husband and my sister are going to the Bahamas and Key West in October. We are going to be climbing a lighthouse in Key West and I wanted to go ahead and make a layout for it, because I wanted to cut the lighthouse from my Wall Decor Cart. I had to make two of these layouts, because my sister Britney wants me to make her a scrapbook while I am making my own. (The chicken is on the bottom, because Key West is known for having chickens running around. It is funny, because I am scared of birds, ducks, chickens etc, so my sister and husband think it is going to be funny to see me walking around where chickens are also walking around, so George thought it would be funny to add a little chicken to every page that we make for Key West)
The lighthouse is cut from Wall Decor and More, the letters are from Gypsy Font, the chicken is from Animal Kingdom, the frame is from Live Simply and the inner frame is from George and Basic Shapes. The background paper has a sheen to it and was preembossed with small dots. I also added some baby blue stickles to the lighthouse inner swirls and some ribbon and pearls to my photo frame.