Wednesday, April 13, 2011

Best Friend Blogger Award!

Thanks so much to Ashley over at http://welchcreations.blogspot.com/ for passing on this blog award to me. I am so honored that she picked me for this award.  If you have not checked out her blog before, be sure to go over and see her great projects.
The rules for this award are:


1) Post about it on your blog, and link back to the sender, and thank them.
2) Pass onto those who visit you regularly and leave comments.

I have many who visit here regularly and I love all of my followers and wish I could pass this on to all of you.  I have picked four blogger friends that have been here for quite a while and become great friends to pass this on to.
 
Rhonda at http://scraphappenswithrhonda.blogspot.com/
Carri at http://doubleclickconnections.blogspot.com/
Audrey at http://cuteandsome.blogspot.com/
Stacy at http://lovethatbug.blogspot.com/

My First Sewing Projects

Well, I got my sewing machine yesterday afternoon and I have been playing around with it.  Nothing fancy here, but I did do a few simple projects, so I thought I would share them with you all.

First, I made two little holders for pocket tissues.  Once is a little bit wider than the other one.  I made the first one and thought the tissues were a little smushed, so I made the larger one next.
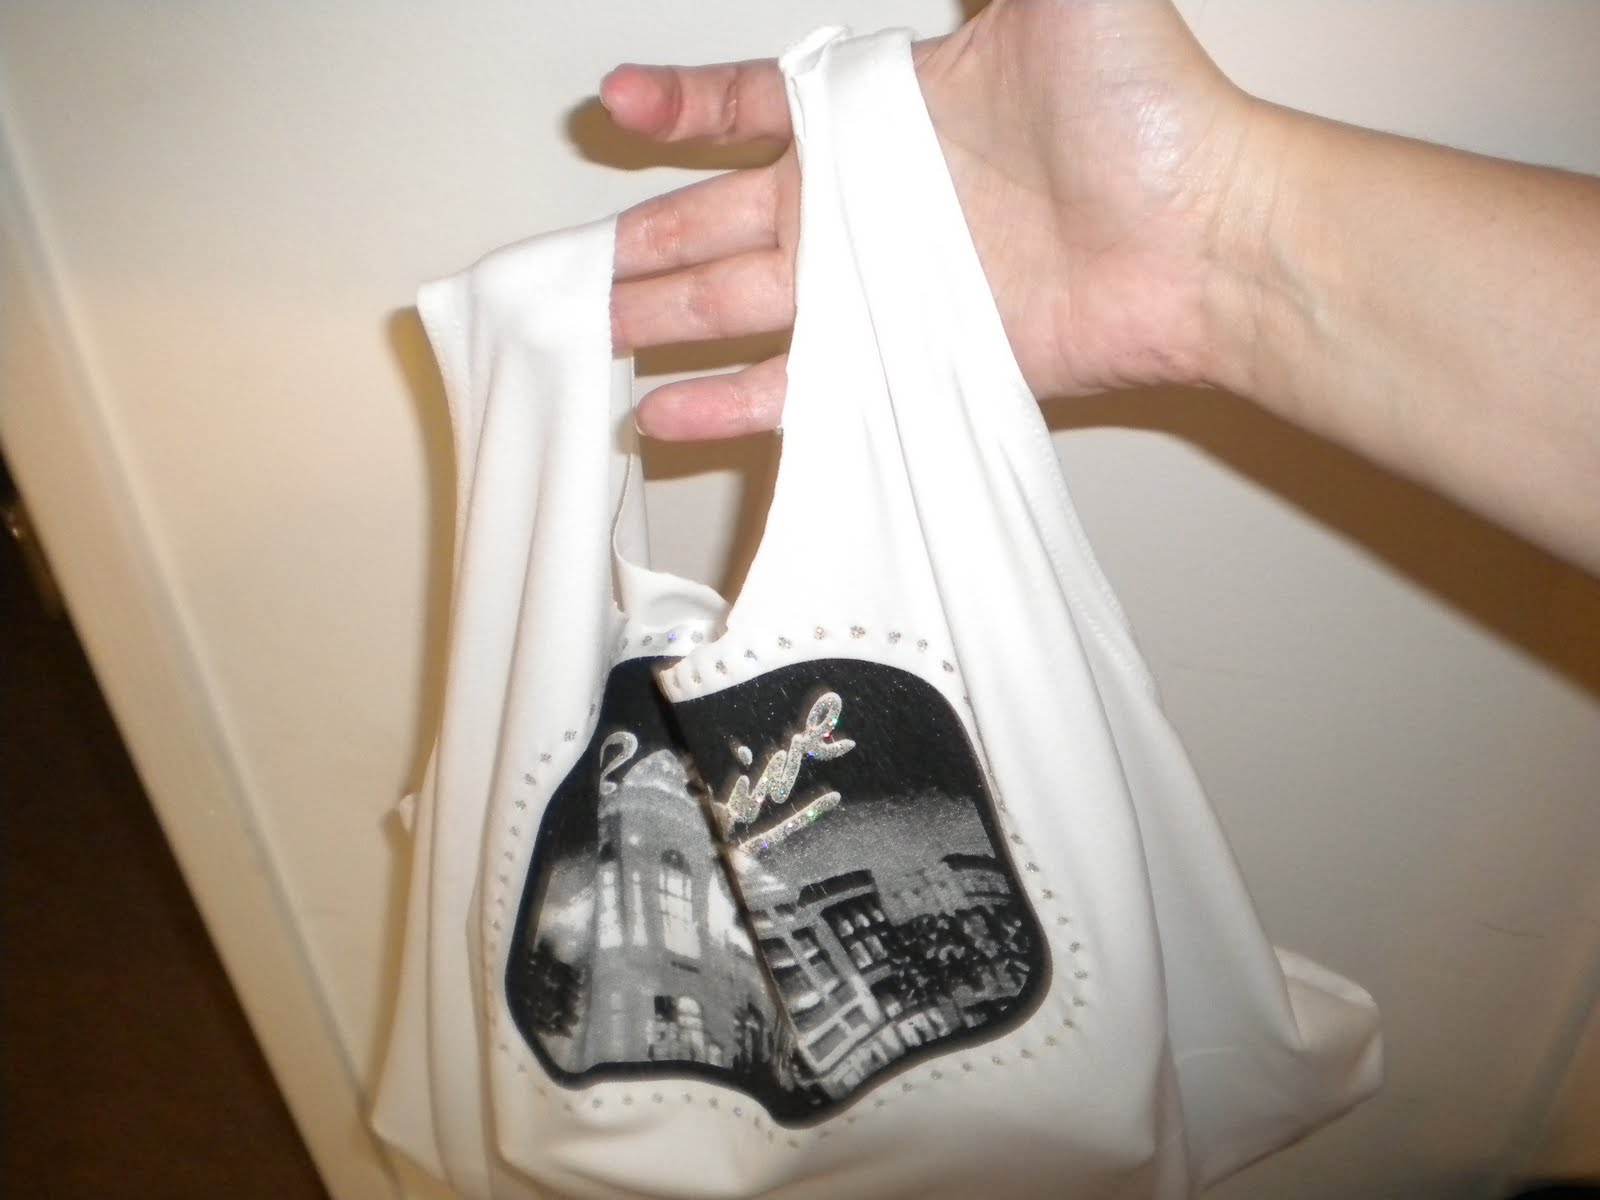
Next, I made a couple of tshirt purses/bags. Here is a picture of one of them. 


Cooking with Cricut Challenge 25: Cash in Your Stash: Design Team Project

It's Wednesday and time for another Cooking with Cricut Challenge.  This week our theme is "There's Cash in Your Stash" a nod to Tax Day.  You will need to use your cricut and incorporate something from your stash that is over a year old or include money in your project.  Be sure to stop by and check out all of the projects by the Design Team and enter your own project here: http://www.cookingwithcricut.com/

I decided to do a layout and use some play money from the Dollar Tree.  I used Don Juan for the title and Smiley Cards for the money bag.  I used a black pen to outline the font and to add some stitch lines to the bag.

Tuesday, April 12, 2011

Easter Egg People and Happy Birthday to Me! :)

Today is my 29th birthday!  So, I will be celebrating today and hopefully getting some crafty gifts. :)  I know that I am getting a sewing machine from my hubby, because I picked it out, so maybe I will have some sewing projects to share soon.  Of course, I don't know the first thing about sewing, so it is going to be a learning experience.

On to the project I have to share with you today.  As most of you have seen, I love to use the packages of sixlets candy to add arms and legs to Cricut Cuts.  Well, I wanted to make some egg shaped ones for Easter and then I thought I could use actual eggs and make them.  I think they turned out so cute and they are super easy to make.

I found some eggs that open sideways at Walmart.  They also say Happy Easter on the back of them, so that was nice.  You will need the eggs, sixlets candies, google eyes, a paint pen, and hot glue.

I used a small dot of glue on each pack of candy to attach them to the inside of the eggs to make the arms and legs.

Then, I used the paint pen to add a mouth and hot glued the google eyes to the front to finish them off. These would be really fun to make with kids.

Monday, April 11, 2011

Buttons, Buttons Everywhere

I saw these adorable buttons in Michaels last week and they were $1 for a row of them.  I immediately grabbed 4 packs thinking they would make a great border around a page.  These pictures are of Kaylee before going to the rodeo a few weeks ago.  I used Once Upon a Princess for the title and Paper Dolls Dress Up for the skull in the corner.

I am entering this into the challenge at:
My Sheri Crafts: Buttons: http://myshericrafts.blogspot.com/

Winners for the CWC Blog Hop

Thanks so much to everybody who came and hopped along with us on the Cooking with Cricut Bunny Hop.  Welcome to all of my new followers, so glad to have you here.

Now time for the blog candy.  All of my winners are randomly chosen.  The winners for the two giveaways are:

Digistamp Winner:
jennyplace2 said...
Such a darling ideal..and such a sweet center piece, TFS!

Stamp and Ribbon set Winner:
Susan said...
What a good idea, thank you for sharing. 

Ladies, I have sent you both an email. Thanks so much.

Sunday, April 10, 2011

Bunny Treat Jar

I made this cute little bunny treat jar using a small glass jar from Hobby Lobby as the base.  I took a large pom pom and hot glued it to the back for the tail, and four small pom poms hots glued to the bottom for his little feet.  For the face, I used the Doodlecharms cartridge to cut the bunny head and then hot glued it to the lid.  (For this, you will need to use sand paper to roughen up the lid a little for the glue to stay and make a mark at the bottom of the lid while it is on the jar so your bunny will be facing the correct direction when you put the lid on)  I filled my bunny with white m&ms that I got from Party City.  I love how cute he is and that he is refillable. :)


I am entering this into the following challenges:
Creative Sisters Monday Challenge: Bunnies: http://www.pattilynncreations.blogspot.com/
Alphabet Challenge Blog: W for White and another color: http://alphabetchallengeblog.blogspot.com/

Saturday, April 9, 2011

CWC Bunny Hop and Giveaway

Welcome to Jean's Crafty Corner and the CookingWithCricut.com Bunny Hop! With Easter just around the corner we wanted to share some of our ideas and give you some inspiration for your Easter projects! If you've come from visiting Ronnie at http://www.inkyantics.blogspot.com/, you're in the right place! If you've just happened across my blog and would like to hop along with us, you can go to Cooking with Cricut and start at the beginning here http://cookingwithcricut.blogspot.com/. 

For this hop, I made some little bunny egg head treats and a cute bucket to share them in.  These are going to be for Kaylee's classroom.   I also have some blog candy to share with you, so look at the bottom of the post for details on that.

Here is a close up of the bunnies front and back.
For the bucket, I took a green bucket from the Dollar Tree and added some decorations.  I tied white ribbon with green and pink dots on it to the handles.  Then, I used pink and white vinyl to decorate the bucket.  I used the Don Juan Cricut Cartridge to cut Hoppy Easter and the George and Basic Shapes Cartridge to cut circles in various sizes.
To make the bunny people, I began with bunny head shaped eggs and filled them with sixlets.  The bunny egg heads came from the Dollar Tree in packs of mixed pink and white. 
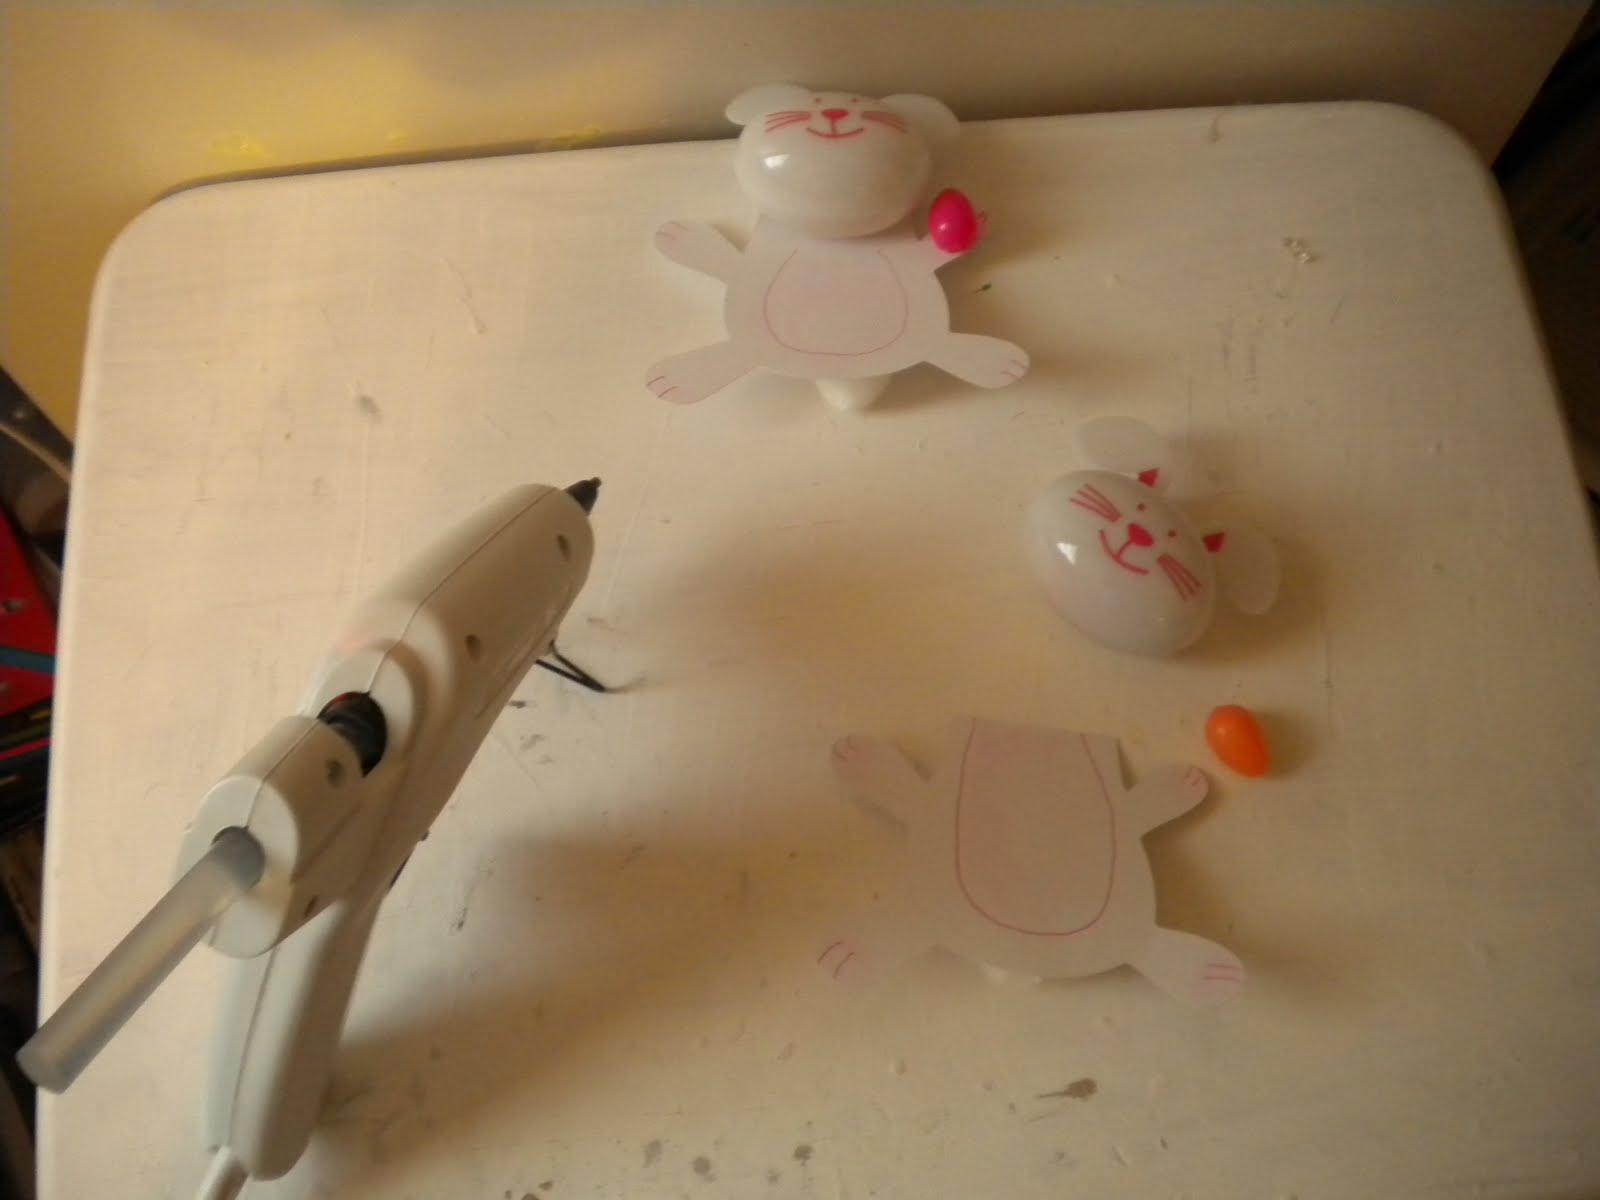
Next, I cut the bunny from the Birthday Bash Cricut Cartridge and cut off the head part. I used a pink pen to add some lines to the belly, hands and feet and used pink chalk to fill in the areas as well. 
Now, I hot glued a puff ball to the back of the body and hot glued the plastic egg to the top for the head.  I also hot glued a small plastic egg to the bunny's hand for some extra detail.

Now, my bunnies were ready and just needed to be added to the bucket.  I made 24 of these total. 

Now on to the blog candy.  I have two giveaways for you.  First, a digital bunny stamp sponsered by Melin from Papercraftingworld.com.  Second, I have some stamps and bird ribbons (pictures below). To be elgible for the giveaways, you need to become a follower if you are not already and leave a comment on this post with a way to contact you (blog, email, etc).  I will use random.org to select a winner from all comments left through Sunday 4/10.  I will announce the winners on Monday 4/11.
Now it's your turn! Link up your Easter-related project at CookingWithCricut.com. Be sure to include a Cricut or other die cut machine cut on your project. The Design Team will pick their three favorites and one lucky person will be chosen randomly to win one of the prize packages being offered in this hop.

Your next stop on the hop is Jennifer at http://www.gator-4-life.blogspot.com/.   Go over and see what great Easter Inspiration she has for you and then after you have finished the hop, be sure to link up your own Easter projects with us at Cooking with Cricut.

In case you get lost along the way, here is the full lineup for the hop:
CWC-Melin - http://www.cookingwithcricut.blogspot.com/

Ronnie - http://www.inkyantics.blogspot.com/
Jean - http://www.jeanscraftycorner.blogspot.com/
Jennifer - http://www.gator-4-life.blogspot.com/
Stacey - http://staceyscreativecorner.blogspot.com/
Roberta - http://www.txscrappermom.blogspot.com/
Jenna - http://jennasfavoritethings.blogspot.com/
Anita - http://www.scrappingwithglitter.blogspot.com/
Nicole - http://www.croppinmommadesigns.blogspot.com/
Dalis - http://www.stampergirl.com/

Friday, April 8, 2011

Clownin' Around Layout

Here is another layout from the Circus that Kaylee went to.  I decided to stick with the silhouette theme that I used on the other layouts and used the Carousel Lite Cartridge for the clown.  I added Firefly stickles to the balls to give them some sparkle.  The title is a sticker.  I also added some ribbon and glitter star brads to the page.


I am entering this page into the following challenges:
Getting Scrappy: Tummy Tickler: http://amandascraftsandmore.blogspot.com/
Creative Cutter Room: 4 Elements collected from design team members:  http://www.creativecutter.org/
Frosted Designs: Use Brads: http://www.frosteddesigns.blogspot.com/

Twinkie Chicks

I don't know why I thought of this craft, because we do not eat Twinkies at my house ever.  But, while I was in the grocery store, I saw the box of Twinkies and thought I could make those Easter Chicks.  Now, the whole time I was shopping I was coming up with my plan in my head, lol.  I had to stop and get some feathers in the craft department and I came home and put these together.  I love how they turned out. :)
I started out with a box of 10 Twinkies.  (I only have 9 chicks, because me and my hubby split one of them, lol)
Next, I used the Create a Critter Cartridge to cut the chicken and eggs.  For the chicken, he was cut with the Gypsy at a size of 2.98W x 3.59H and then I cut his head off of the body.  For the Egg Bottom, I hid the top layer in the Gypsy and cut only the bottom at a size of 3.71W x 3.59H.  (You will need two egg halves for each, so you can put on on the front and one on the back.)  I then cut only the beak layer to fit on the chicken's face.

Next, I added google eyes to the chickens face and then hot glued the face and egg to the Twinkies package.  Then, I hot glued feathers to the side of them for the arms.  I glued all of the arms on a little differently, some are facing up, some forward, etc.
Now, my little chicks needed a box to set in.  I wanted it to look like a makeshift child's box.  I took the Twinkie box and trimmed it down and removed the lid.  Then, it was painted with a primer and then painted it brown. 
Once it was drie, I hot glued the lid to the back slanted.  Then, my husband painted the words on the top for me.  We spelled chicks wrong on purpose so it would look like a child's box.
I am entering this into the following challenges:
Getting Cricky Simply Sunday: For the Birds: http://www.gettingcricky.com/
Sugar Sweet Paper Treats: Easter: http://sugarsweetpapertreats.blogspot.com/
Tuesday Throwdown: Spring: http://tuesdaythrowdown.blogspot.com/
Cricut Cardz Challenge: Easter: http://cricutcardzchallenge.blogspot.com/
Paper Cutz: Cricut cut of Chick: http://papercutzchallenge.blogspot.com/

I am linking this up here:
craft


Thursday, April 7, 2011

Vinyl Frisbee

I am sure that most of you have figured out by now that nothing is safe around here when it comes to vinyl, lol.  I saw these frisbees at Hobby Lobby in the summer section and thought I could add vinyl to that for Kaylee.  So, I just added a K and some dots, but I think she will like having a personalized frisbee. 

I am linking this up here:
craft

Wednesday, April 6, 2011

Cooking with Cricut Challenge 24: April Showers: Design Team Project

It's Wednesday, and that means it is time for another challenge over at Cooking with Cricut.  This week, our challenge theme is April Showers.  Be sure to check out all of the projects by the design team and enter the challenge here: http://www.cookingwithcricut.com/ .

For my project, I decided to do a layout using the lyrics from a song that I am sure everybody knows.  "Raindrops Keep Falling on my Head"  I used stickers for the title and outlined them in black.  For the girl with her umbrella, I used A Child's Year Cricut Cartridge, for the rain drops, I used 3 Birds on Parade and added glossy accents to give them the appearance of being wet, and I used Storybook for the frames and added a blue piece of ribbon across the bottom.  I really love the blue and white colors on this layout and they definitely put me in the mind of April Showers.


Also, remember that this Saturday, April 9th, we will be having the Cooking with Cricut Bunny Hop.  Lots of great Easter inspiration and giveaways as well.  Be sure to stop by for that.

There are a few other April Showers Challenges this week, so I am entering this layout here:
My Sheri Crafts http://myshericrafts.blogspot.com/
The Paper Variety http://thepapervariety.blogspot.com/
Fantabulous Cricut http://fantabulouscricut.blogspot.com/

Tuesday, April 5, 2011

Vinyled Night Light

I made this night light to go in Kaylee's Easter Basket.  I started out with a plain night light from Walmart.  (I went with the clear one because of the design I wanted to do, but they do carry these in all different colors)  I used a zebra cut file created by Kathy who is over Smartbuygal.com for the base.  For the letter, I wanted to use the same font that I have been using on my tumblers, Fantini Alt One.  I think it is so whimsical looking. 

Here is a picture of it lit up.

Sunday, April 3, 2011

Admit One Ticket Card

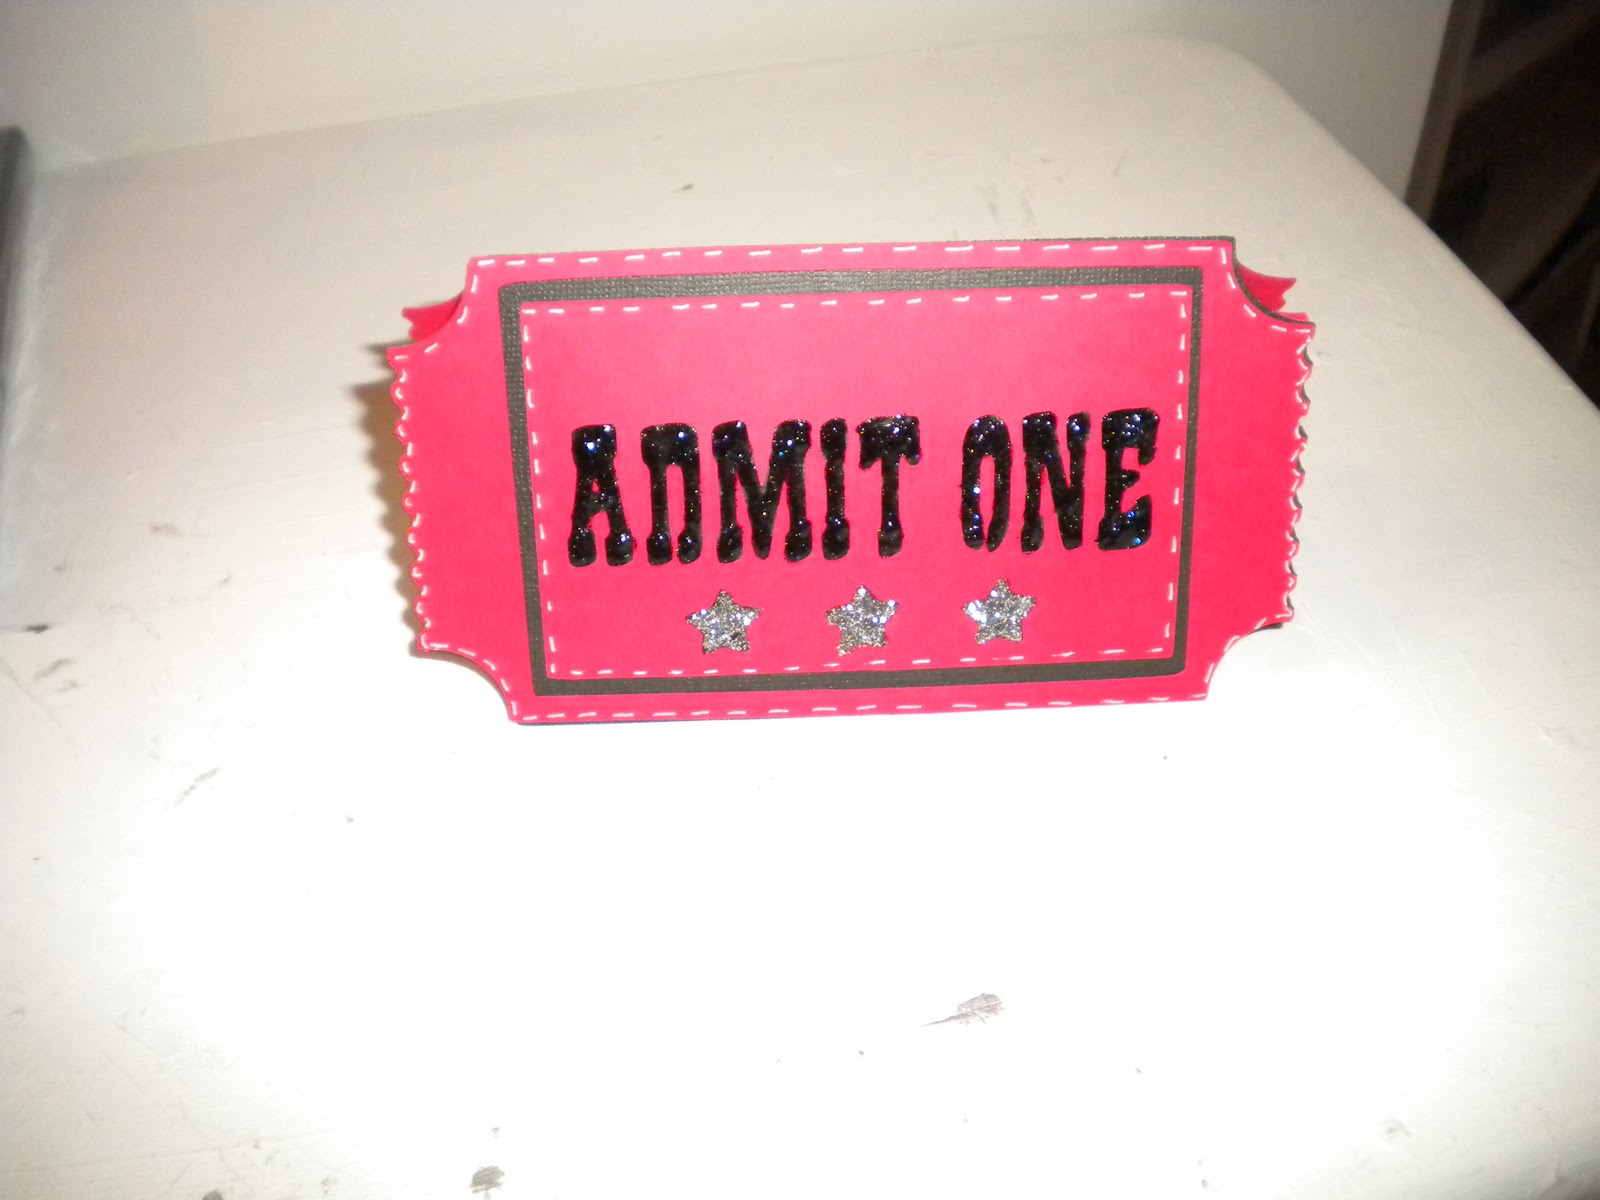
My grandfather's birthday is tomorrow, and I bought him a movie and some snacks to go in the ticket bowl I made a few weeks ago.  I wanted to make a card to match, so I used the Carousel Cricut Lite Cartridge and the Gypsy to make a ticket shaped card.  I used stickles in black and silver to add some sparkle to the front.
Since the outside says admit one, I added the sentiment "To a Great Birthday" on the inside.

 I wrapped the bowl in a cellophane bag and then attached the card to the outside.


Friday, April 1, 2011

Chalkboard Egg

I got this idea to make a chalkboard egg from http://thegreenbeanscrafterole.blogspot.com/.  I decided to use the colored chalkboard paint for mine.  I am going to put this in Kaylee's Easter Basket.  I drew a little funny face on the egg. :)
To make this, I started with a Paper Mache egg from Hobby Lobby and Pink Chalkboard paint that also came from Hobby Lobby.
When using the chalkboard paint, you have to use two coats.  You will paint one coat vertically (let it dry) and then paint a second coat horizontally (let it dry).

Once it is completely dry, you can then start to draw on the painted egg. 

Thursday, March 31, 2011

Easter Egg Wreath

I bought a ton of those glitter eggs from the Dollar Tree last month when they first put them out and finally got around to making my egg wreath yesterday afternoon.  Love the colors on this, because it looks so springy!!

To make this, you will need:
Eggs (mine came from the dollar store), Wreath Base, Ribbon, Stick Pins, Hot Glue, Scissors and Cricut Cuts if you want to embellish it.

I started out by wrapping my wreath in ribbon and using the stick pins to secure it in place.  This way, if you can see through some of the eggs, you won't just see the base of the wreath.

Next, I removed the eggs from the sticks they were on and layed them out to get an idea of how I would place them on the wreath.

Once I was happy with that, I used hot glue and began to place them around the wreath.  Here is that in progress.

Once all of my eggs were glued on (I used two bags each of the large, medium and small sized eggs from the Dollar Tree), I added some ribbon to the back to make a hanger.  (You could leave the wreath like this if you wanted and it would be fine)

I did want to dress mine up a little more, so I added a premade bunny diecut and used the Cricut Cartridges Jubilee and Designer's Calendar to make a little banner that said Easter.  I hot glued these directly to the wreath.

I am entering this into the following challenges:
My Sheri Crafts: Spring: http://myshericrafts.blogspot.com/
Serenity Scrappers: Pastel Colors: http://serenityscrappers.blogspot.com/
Creative Cutter Room: Spring: http://www.creativecutter.org/
Fantabulous Cricut: Looks like Spring: http://fantabulouscricut.blogspot.com/

I am linking this up here:
craft